Thursday, July 12, 2012

Old-Fashioned Cocoa Fudge


If you've been keeping track of the authors on this blog, you may have wondered if I'd ever post again.  I'm not one to make excuses, so I won't.  It's been a couple months, but I'd never leave you hanging forever!

Fudge is a great way to break out of a rut, don't you think?  I usually save fudge for Christmastime, but this fudge has a history.  It has a particular taste you can't accomplish elsewhere.  This was the fudge I wanted, so it had to be done.

In my family, the history is simple, and probably similar to everyone else's.  My memory is of my dad making this particular fudge, I think because it was his favorite and he had the most success with it.  That doesn't mean Mom doesn't make a mean fudge.  But we'll save that recipe for Christmas.  

This is the fudge your great-grandma probably made 100 years ago, and I'm here to tell you it can still be done.  Easier, if you know how to use a few kitchen gadgets.  Harder, if you're an impatient modern cook.  (No offense.)

I also love this because all of the ingredients can be found in your food storage (if you keep butter powder on hand, which I don't, but if you did you'd know how to use it).  Otherwise, it's "just add water."  When the world ends, you can still have your fudge for Christmas.

In Utah they celebrate Pioneer Day at this time of year, and this would be perfect to give to friends for just such an occasion.  Old fashioned, yet delicious.  

Start with combining sugar, salt, cocoa and milk (powder, in my case) in a medium-large saucepan.  Mix the dries together before adding the liquid.


Then you can pour in the water (or milk, if you don't have dry milk powder).


Stir it up and put it over medium heat.  


Bring it to a good rolling boil, stirring frequently so it doesn't scorch.


Rolling boil looks like this, with a semi-central spot where the liquid is getting sucked down to the bottom:


Now leave it alone.  No more stirring.  Just peek at it every now and then and make sure you're not boiling over.  And for goodness sake, don't let it burn.

Did you notice how close to the edge of the pan I was?  Don't do that.  Use a bigger pan than you think you need.

Next topic:  candy thermometers.  They're awesome if you know how to use them right.  The bulb should not touch the bottom of the pan, but does need to be submerged in the candy if you're going to get a reading.   I managed to boil down below the bulb, so my thermometer stayed at 220 degrees F for a really long time.  What you're looking for is 234 degrees F, or soft ball stage.  At soft ball stage, when you drop a few drops of hot candy into a glass of cold water, they fall to the bottom in little balls which are still pliable if you dump the water out.  I'm no good at soft ball, though.  And my thermometer was a problem.  So I called my mama, and this is what she said:

"Is it nice and glossy?"
"Yes, it's been glossy for awhile now.  It's also very thick and it's reduced quite a bit."
"If it's thickening in the pan and it's good and glossy, you know it's done."

Thanks, Mama.  By the way, this took about 45 minutes to an hour.


Remove from the heat, add butter and vanilla and DO NOT STIR.  Walk away for another 30-45 minutes, until the thermometer reads 110 degrees F or it gets to a little hotter than lukewarm.  


See? The butter can melt all by itself without you watching.


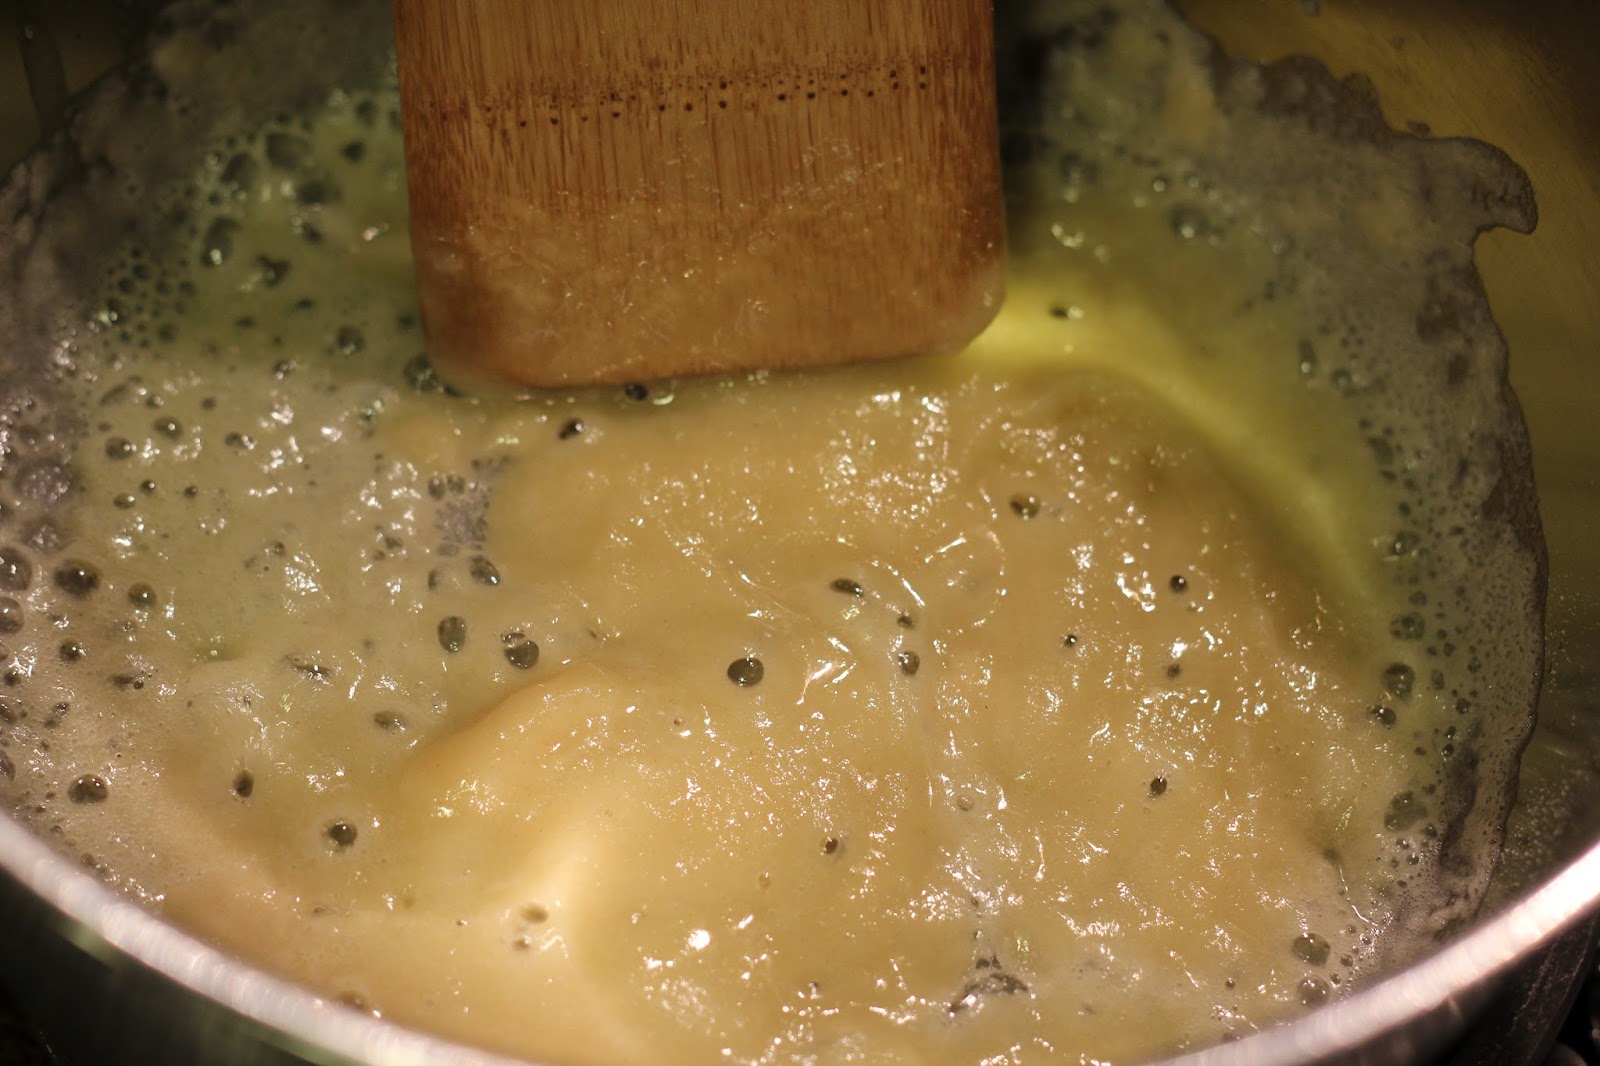
Now stir it in.  Remember, you're starting out glossy.  


The finished product will have a pretty matte finish, but don't beat it to death!  Once it's good and thick and not so shiny, just stop.  Bad lighting photo:


Better lighting.  Still looks a little shiny, right?  Like frosting.


Okay now.  I will confess I am telling you "do what I say and not what I do" because when I plopped the fudge into my wax-paper lined dish, it was nearly solidified.  I repeat:  don't over-mix.  


Spread it out into the pan and let it cool to room temperature, then refrigerate before slicing and serving.


Old-Fashioned Cocoa Fudge


3 cups sugar
2/3 cocoa
pinch salt
1/4 cup plus 2 T dry milk powder
1 1/2 cups water
1/4 cup butter
1 tsp vanilla


(optional:  use 1 1/2 cups milk instead of milk powder and water)


Combine sugar, cocoa, salt, milk powder and water in medium-large saucepan.  Bring to rolling boil over medium heat, stirring frequently.  Allow to boil until candy reaches 234 degrees F, or soft ball stage.  Mixture should be glossy and thick, having reduced by about half.  This will take at least 30 minutes.  Remove from heat and add butter and vanilla.  Do not stir.  Let sit another 30 minutes, or until temperature reaches 110 degrees F, just warm to the touch.  Stir in melted butter and vanilla.  Mixture will be glossy.  Beat with wooden spoon until it looses most of its shine and becomes slightly difficult to stir.  Pour into 8x8 dish, either buttered or lined with wax paper.  Allow to cool at room temperature.  Refrigerate before slicing and serving.


Monday, July 2, 2012

Breakfast Enchiladas


I randomly looked this recipe up on allrecipes when I was looking for something to make for breakfast on General Conference morning and it became a tradition hubby and I both look forward to.  One thing I love about this recipe is that it is easy, prepared the night before, and has only a few ingredients that I typically keep on hand (except for the ham).


First I chop the ham and onions.


I put ham, onions, and cheese inside of each tortilla and place it in a 9x13 baking dish.


In a bowl combine eggs, flour, cream, and salt if desired.  (Side note: look closely at that picture.  There are 3 double yolk eggs in there.  Random eh?)


Whisk the mixture until smooth.


Poor the mixture over the enchiladas and pop it into the fridge overnight (for 8 hrs at least).  I skipped this step once and ended up with watery enchiladas.  Don't skip it.  It really does make a difference.


Remove the enchiladas from the fridge, cover them with foil, and pop them in the oven at 350 for about 25 minutes.


Uncover, sprinkle on lots of Cheddar cheese, and pop it back into the oven for about 10 minutes.  When its done it should look something like this.

Enjoy!

Breakfast Enchiladas
From Allrecipes
  • 2c cubed, fully cooked ham
  • 1/2c chopped green onions
  • 10 (8 inch) flour tortillas
  • 2 cups shredded Cheddar cheese, divided
  • 1 Tbs all-purpose flour
  • 2c half-and-half cream
  • 6 eggs, beaten
  • 1/4 tsp salt
  • Combine ham and onions; place about 1/3 cup down the center of each tortilla. Top with 2 tablespoons cheese. Roll up and place seam side down in a greased 13-in. x 9-in. x 2-in. baking dish.

  • In a bowl, combine flour, cream, eggs and salt if desired until smooth. Pour over tortillas. Cover and refrigerate for 8 hours or overnight.

  • Remove from the refrigerator 30 minutes before baking. Cover and bake at 350 degrees F for 25 minutes. Uncover; bake for 10 minutes. Sprinkle with remaining cheese; bake 3 minutes longer or until the cheese is melted. Let stand for 10 minutes before serving.


Sunday, June 10, 2012

Creamed Eggs

What do you do with your left-over Easter eggs (Sorry, this post is a bit... ok, VERY late)?  I love hard boiled eggs, but I have to say that after a couple days I get sick of them.  The first Easter that I was married, I wanted to limit the number of eggs we dyed so we wouldn't be left with a lot of left overs.  My husband, however, made about 2 dozen.  I asked him why he made so many and he said, "For Creamed Eggs of course!" as if I should have just known what that was.  I was then introduced to this breakfast that I would eat every day if I could.


The first step to making this is boiling the eggs. 


If you use the method linked to above, you will get a pretty hard boiled egg with no green slime.


Slice your eggs up and set them aside.


Next you want to make a medium white sauce.  Heat the butter until it just begins to foam, then add the salt and flour.


Stir the mixture (a rue) until it just starts to turn golden.  I let this go a little far, you would be looking for a color a bit lighter than this.  


Add cold milk and whisk until smooth.


Add the white pepper.


Add more salt if needed.


Add the pepper.  Fresh ground is always the best.


Next you add the start of the show... your eggs.  Heat it through, and taste for seasoning.  I love how the yolks kind of mix into the sauce to make it creamy and the lovely pale yellow color.


I serve it over toast and add a bit of paprika for a garnish.  Enjoy!

Creamed Eggs
  • 4 Tbs butter
  • 4 Tbs flour
  • 2c COLD milk
  • 8-10 hard boiled eggs, chopped
  • salt to taste
  • white pepper to taste
  • pepper to taste
In a medium sauce pan melt butter.

Add the flour and stir until the flour just begins to turn golden.

Add the COLD milk and whisk until the clumps are gone.

Heat to a simmer.

Add eggs and heat through.

Add salt and peppers to taste.

Serve over toast.

Hard Boiled Eggs - No green slime


I am a bit particular about my hard boiled eggs.  Call me a snob... maybe I am, but I just don't like that green slime around the outside of my yolks.  That fact that I will even eat an egg yolk is a huge step for me from my childhood...  So, here is how to make the incredible edible egg look incredible... and edible (my own opinion).

Put the eggs in a pot and cover them with about an inch of cold water.  Some say that a bit of salt prevents cracking and a bit of vinegar prevents egg whites from running out if an egg should crack.  I don't use either, but some people do.  

Bring the water to a boil.  As soon as the water is boiling, reduce the heat to a simmer and let it go for 1 minute.  Remove the pot from the heat and cover.  Let it sit for 10-12 minutes.  This time depends on the size of your eggs as well as the number.  I usually just end up letting it sit for 12 and they turn out fine.

After the 12 minutes is up, immediately get the eggs into cold water.  I dump out the hot water and fill and refill the pan with cold water a few times in order to do this.  Once they are cool enough to peel you can enjoy!  No green slime around the yolk.  Of course, you can also store them in the fridge as well.


Friday, June 1, 2012

Beef Stroganoff


I have a confession to make.  I am a pasta addict.  Have I already confessed that on here?  Well if I have, I should do it again, and again.  This has always been one of my favorite pasta dishes.  The best part about it is that it is so easy to make.  This is a recipe my mom has made since I can remember.  I have also loved it since I remember.  

First, chop your onions and mince your garlic.  This is also where you could chop the fresh mushrooms if you were to remember them (like I didn't).


Heat the olive oil in your pan and add the garlic and onions.  Cook until the onions become translucent.


Add the meat.  I used stew meat.  You can also use hamburger.  Cook until the meat is cooked through.


This is where you would add the mushrooms, if you happened to remember them.  Cook the mushrooms until they become soft, but stop before they begin to shrink drastically in size.

Add the cream of mushroom soup.


Add the ketchup and Worcestershire sauce.  Mix until combine.


Lookin' good, but the best part is still to come.


Add the sour cream.  I know you are trying to be healthy, but don't use light sour cream.  It will curdle.  Basically, it would make this lovely sauce too yucky to eat (in my opinion).  Don't give in to the temptation!


Heat through.  Be sure not to boil the sauce, or again, it will make it all kind of funny textures.


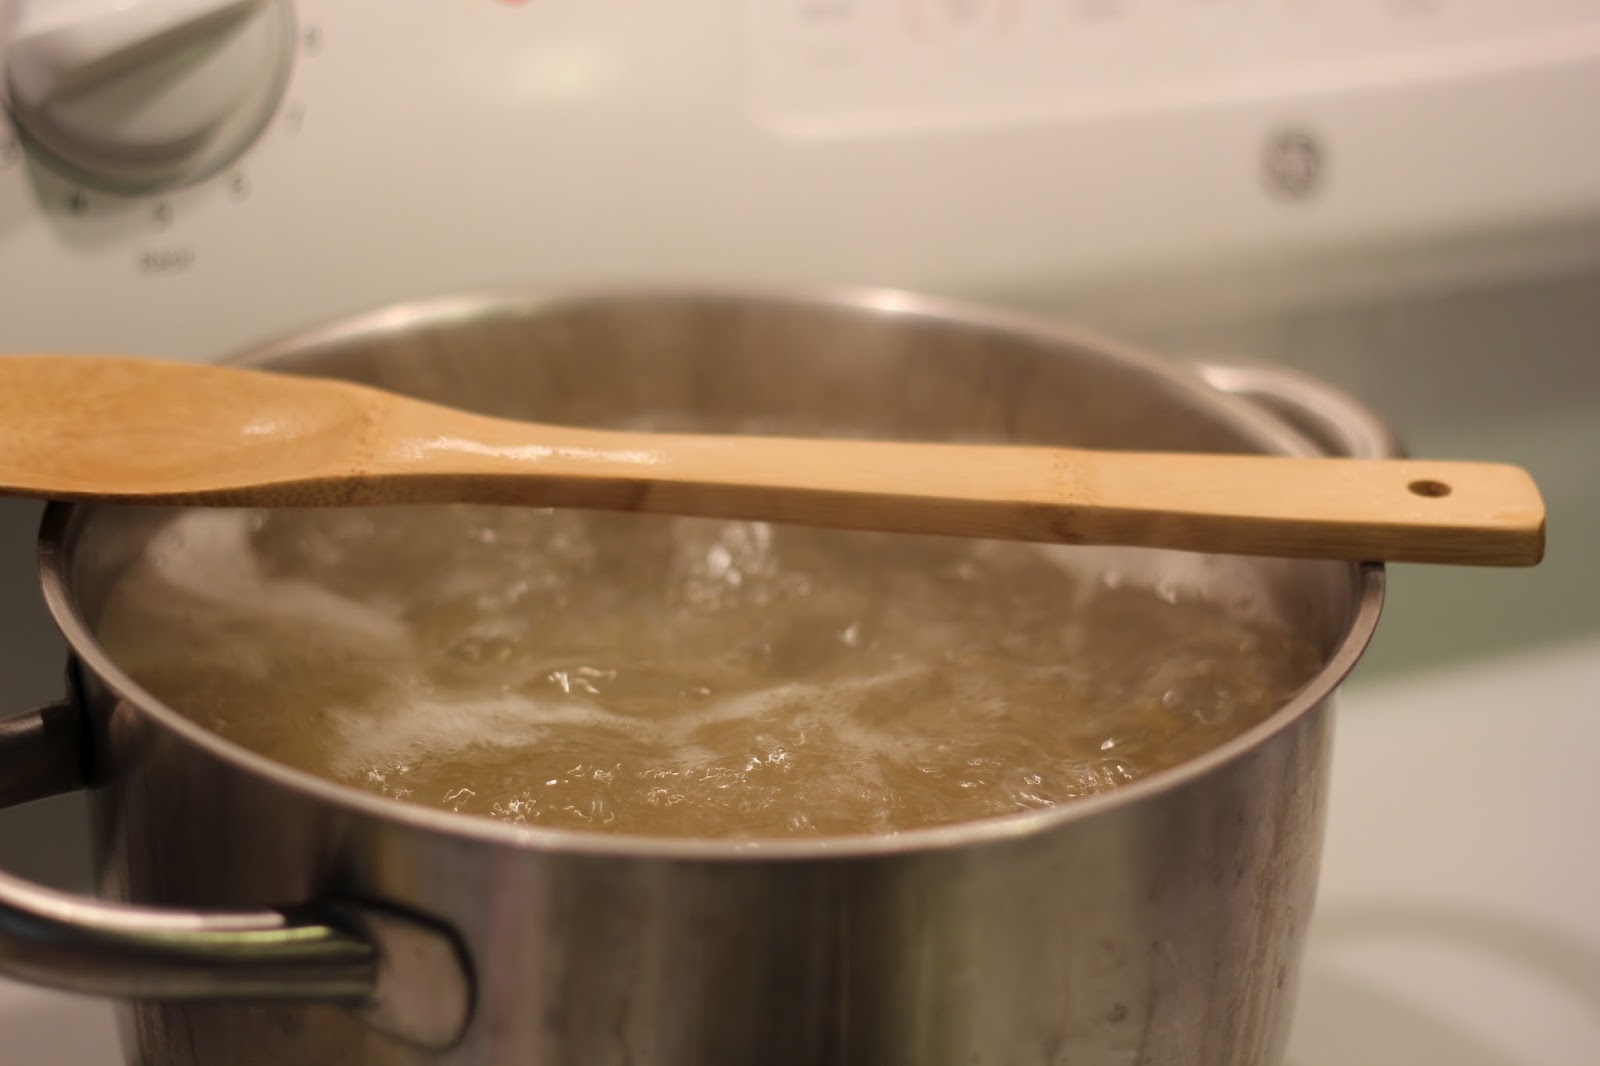
Meanwhile, boil yourself up some yummy pasta.  Cool trick I learned somewhere.  If you put a wooden spoon over the top of your pan the water won't boil over.  Turns out it is true.


Enjoy!

Beef Stroganoff
  • 1lb ground beef or stew meat
  • 1T olive oil
  • 1 med. onion, diced
  • 1 garlic clove, minced
  • 1 10 ½ oz can condensed cream of mushroom soup
  • 1c dairy sour cream
  • 1 3 oz can mushrooms, undrained -or- fresh mushrooms
  • 2T ketchup
  • 2T Worcestershire sauce
  • pasta

Heat oil in skillet.

Add garlic and onions and cook until garlic becomes fragrant.

Add meat and brown.

Add fresh mushrooms.  Stir occasionally until mushrooms are soft.

Add cream of mushroom soup, sour cream (don't use light... it will curdle), ketchup, and Worcestershire Sauce.

Heat through.

DON’T BOIL.

Serve over pasta.

Monday, May 7, 2012

Zippy Corn Chowder


It's Michelle again. I went on a soup recipe rampage this winter, hoping to find some delicious soups my whole family liked. This is one of our successes. It is more of an adult soup because it's a little spicy, but you could add a little extra milk to the kids bowls if they don't like spicy. This recipe is adapted from the Taste of Home Comfort Food Diet Cookbook. Although my recipe isn't diet!

You will need:

1-2 medium onions, chopped (depending on how much you love onion)
1 medium bell pepper, chopped
3 TB butter (or more....)
14 1/2 ounces chicken or vegetable broth
1 extra chicken boullion cube
2 large potatoes, cubed
1 jalapeno pepper, chopped (be careful!)
2 tsp Dijon mustard (real Dijon mustard is heavenly)
1 tsp salt
1/2 tsp paprika
1/4 to 1/2 tsp crushed red pepper flakes, or ground red pepper
3 C frozen corn
3 cups milk, divided
1/4 C all-purpose flour

Here's what to do:

In a large saucepan, saute the onions and bell peppers in the butter until both are tender. Add the broth, extra boullion cube and potatoes. (The original recipe only calls for broth, but I always add an extra cube for body and flavor.) Bring saucepan mixture to a boil. Reduce heat: cover and simmer until the potatoes are tender. Stir in jalapeno, mustard, salt, paprika and red pepper flakes or ground red pepper. Add corn and 2 1/2 C milk. Bring to a boil, stirring often.

Combine the flour and remaining milk in a separate container. Mix until smooth. Gradually add flour and milk to the soup mixture. Bring to a boil again. Cook and stir until thickened and bubbly. Makes 2 quarts.

Providence:
This is a good food storage recipe. The addition of milk, butter and Dijon mustard makes it a little more expensive, but if you grow your own onions, potatoes and peppers you can cut the cost a lot. I buy frozen corn on sale for $1. We buy Dijon mustard from Jungle Jim's ($4) and we use one jar a year. You will likely have most of the spices on hand and spices are cheaper if bought in bulk. I don't have an estimate for the overall cost of this, but my guess is about $2.50, based on Ohio prices.

A few tips:
When cutting the jalapeno, be careful! Don't wipe your face, lips or eyes or you get a really nice tingly feeling. That's the best case scenario. I imagine in your eyes it wouldn't tingle.

Use the ground red pepper sparingly. I have never added 1/2 tsp. 1/4 tsp is plenty spicy for my family.

Heavy cream makes this absolutely delicious; however, it is not the most economical so milk will do.

The End: My husband loves this soup. I think it's great and my children think it's okay, but it can get a little spicy for my 4 yr old. I have not tried freezing it or using canned corn, but I imagine with some experimentation you could get a really good alternate recipe.


Enjoy!

P.S. Sorry I don't take step-by-step pictures.

Tuesday, May 1, 2012

Mama's Pumpkin Bread


This recipe has a lot of love in it.  Mama's told me the story once or twice about how she loved the flavor of one pumpkin loaf, and the moisture of another.  She wanted to stay true to family recipes but really sought perfection.  My friends, this is it.  Try it.

The last time we made quick bread, one could argue I "ruined" it by adding all sorts of healthy things.  Well, this time we're not going there.  We're staying pure and true to Mama's recipe.  

That said, you can make all the healthy alterations you want.  Add the bean puree and whole wheat flour and omit some of the sugar.  Just don't give it to your friends and tout it as the best pumpkin bread you've ever had.  That's not it.  This is it.

One of the best things about it is how easy to make it is, and it makes a lot, so then you're ready for holiday (or any day) gift-giving.

First, cream the shortening and sugar.  If you want to be really fancy you can use real butter (softened, of course).  I think Mama does that for her holiday gift loaves. :)


When your mixture is good and pale, mix in the rest of your wet ingredients.


And then the dries.  You can sift them together if you want, but I always just dump in the flour first and let the mixer "sift" it for me when it first starts to turn.


It smells like pumpkin pie.  You'll want to lick it.  Try to resist the urge.  By the way, you can mix in things at this point if you want, like chocolate chips.  :)  You can do nuts and raisins if you're really desperate to give your neighbors your best rendition of fruit cake.   I remember Mama doing that once or twice.  I wonder why? I never asked.


Divide it into greased pans.  This recipe will make 4 large loaves, 32 mini loaves, or 48 muffins.


Bake until the edges and top are getting beautifully browned and a knife/toothpick inserted comes out clean. Loaves bake for over an hour, mini loaves about 25 minutes, and muffins about 18 minutes.


When you pull them out of the oven, turn them out immediately onto a cooling rack.  Doing so will get you that perfect outside crust with a wonderfully-moist-but-not-to-dense center.


Mmm.  Eat one warm.  I'm on my second.  

Mama's Pumpkin Bread

1 1/3 cups shortening (or butter, or applesauce, or bean puree)
3 cups sugar (can reduce to 2 cups)
2 1/3 cups brown sugar (can reduce to 1 2/3 cup)
6 eggs
4 cups pumpkin puree (that's one large can)
1 1/3 cups water
6 2/3 cups flour (can do whole wheat)
4 tsp baking soda
1 tsp baking powder
2 tsp salt
4 tsp cinnamon
1 tsp allspice

Cream shortening and sugars.  Add eggs, pumpkin and water and mix well.  Combine dry ingredients, then mix into wet ingredients.  Divide into greased pans and bake at 350.  Large loaves:  60 to 70 minutes; mini loaves:  25-30 minutes; muffins:  18 to 22 minutes.