Wednesday, December 12, 2012

Chocolate Velvet Pie and Oreo Pie Crust


I now interrupt our regularly scheduled program (cookie week!) for a report from the emergency broadcast system:  If you are experiencing holiday overload, drop everything and make this pie.  Lick the pan.  And when the pie is set, grab a fork and the whole thing and sit down to watch It's a Wonderful Life.  Because it is.  And so is this pie.

This is a Mr. Pots invention.  Before I go on, there are a few more things you need to know about Mr. Pots. 1. he's an engineer.  he likes to invent things.  or fix them.  or figure out how they work, and make them better.  this applies to food and everything else in life.  2.  he never follows a recipe, but his experiments almost never fail.  more often, they're out-of-this-world amazing and delicious, albeit a little out of the ordinary.  3.  he has a sarcastic, dry, blunt sense of humor.  this is only important to recipes when dealing with spicy food.  4.  he is so-named Mr. Pots because if our lives were fiction and we were a famous duo, the personalities we most fit are the combination of Iron Man & Pepper Pots.  Since we are, in fact, married, and his name is Adam, not Tony Stark, it's just fun to call him Mr. Pots when I'm feeling equally feisty and sarcastic.  there you have it. :)

This is not a chocolate pie for those of you who love a light, fluffy chocolate pie.  If you fall into that category, try a chocolate pudding pie, or (a little more complicated, but delightful) French silk pie.  This is a pie with a rich, velvety taste and texture.  Don't say I didn't warn you.

You can do any kind of crust you like, so long as it's prepared in advance.  A regular pie crust, baked, provides a nice salty but simple contrast.  Graham cracker is quick, easy and adds a nice crunchy texture.  Chocolate graham cracker is one step better.  And for that fun, crunchy contrast and a little extra flavor, oreos are the way to go.

First, start out by crushing the oreos.  You can do it in a gallon size ziploc bag by hitting it with a rolling pin, stomping on it, throwing it, whatever. :) Or you can be a little more civilized and put them in a food processor.  (But why would you want to do that?)  Once the oreos are crushed, mix in the melted butter.  The mixture will be very dry and crumbly.  Transfer to a 9" pie plate.


Press the mixture into the bottom and up the sides of the pie plate.


You can leave it unbaked, but to sort of "set" the crust, (it makes it slightly less crumbly) bake it at 350 for 8-10 minutes.


Now for the pie!  Start by combining evaporated milk with egg yolks in a saucepan over low heat.  Use a whisk to keep it stirring.  And don't walk away.  Ever.


If you feel squeamish about the egg yolks, pasteurized egg product definitely works!


Remember how I said don't walk away?  This is why.  If you let the mixture get to hot, it will curdle.  You want to heat it until just before boiling.  So you'll see a few bubbles start to pop up but once that happens turn it off!  Curdled pie is no good.  I threw this batch out and had to start over.


I can't emphasize it enough--constant whisking and DON'T WALK AWAY.  Also, don't waste precious stirring time trying to photograph what you're doing.


It'll coat the back of the spoon when it gets to the right consistency.  Turn it off and don't look back.


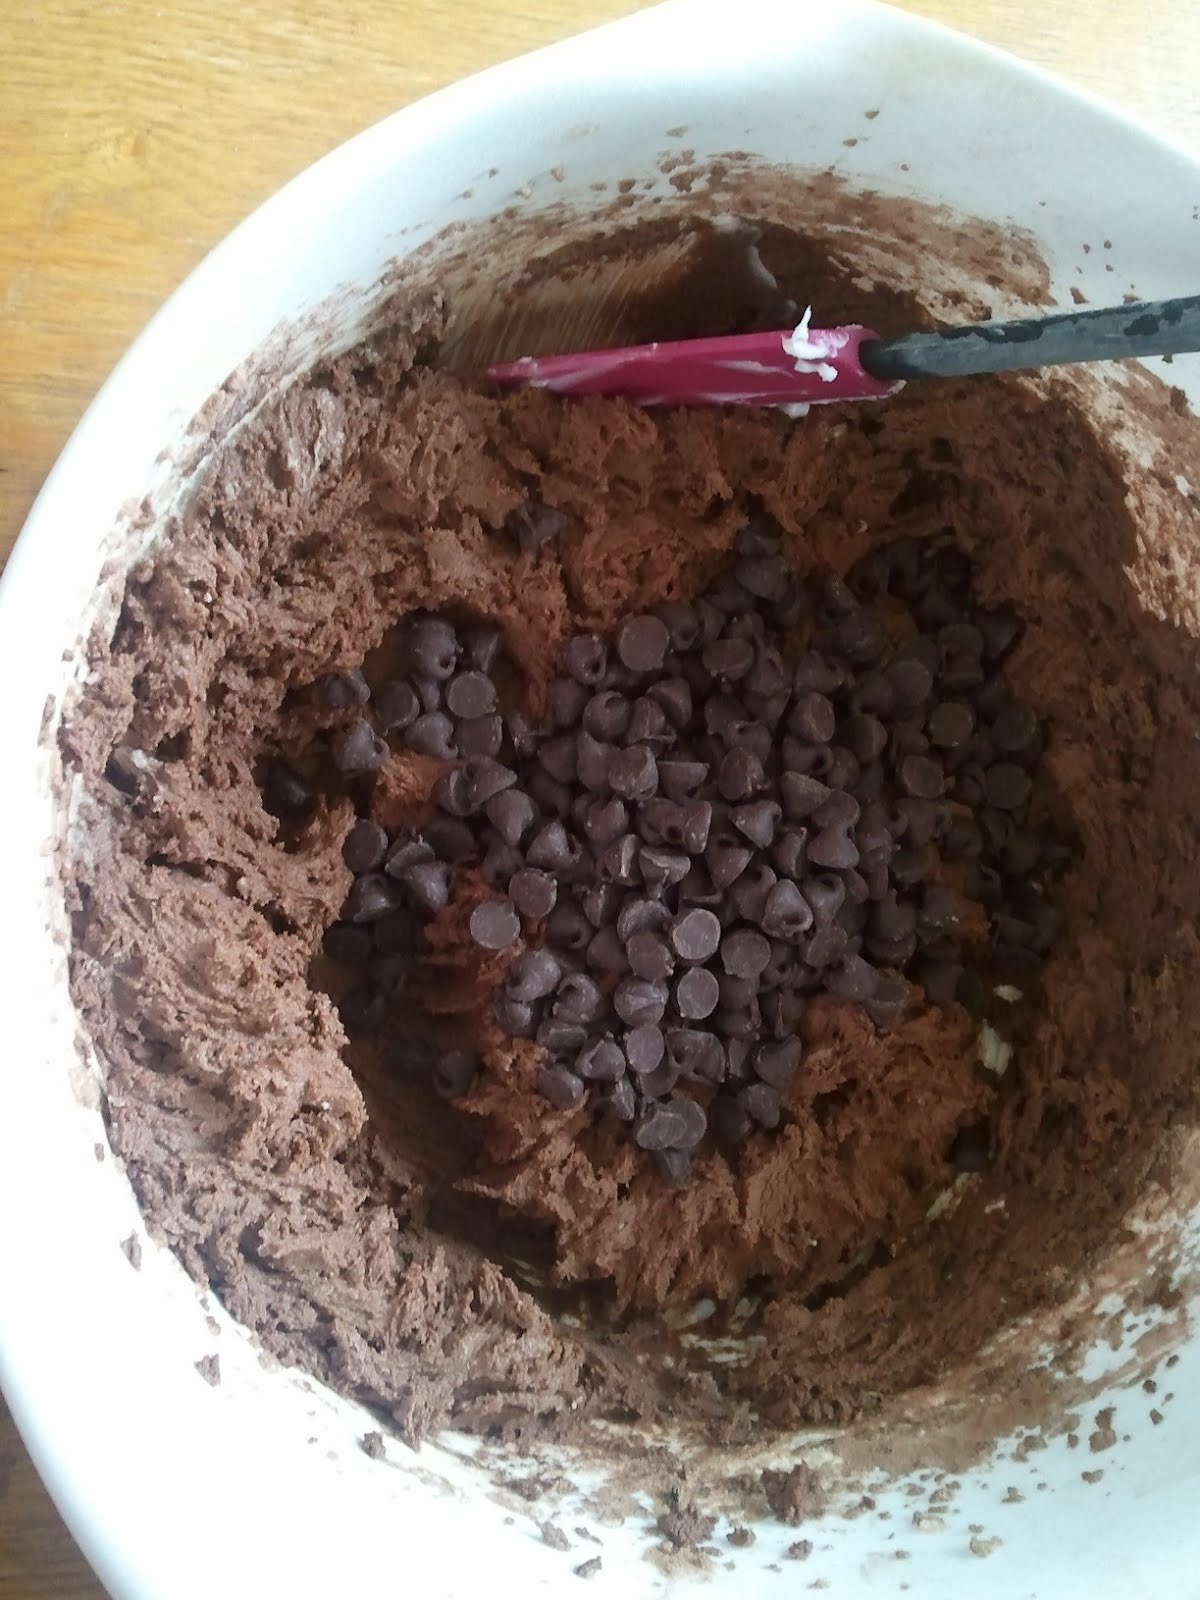
Next mix in the chocolate chips and cream cheese.  It helps if the cream cheese is cut into chunks and/or softened so it melts faster and incorporates better.  I used half milk/half semisweet chocolate in this particular pie, but Mr. Pots was a little disappointed--we usually go all semi-sweet or even bittersweet.  If you like the milky sweet chocolate flavor better, milk chocolate chips is the way to go.  If you prefer the rich intensity of dark chocolate, definitely go with semi-sweet, or give bittersweet a try!


Getting the cream cheese to blend in well can be a little tricky, 


so I used a stick blender.  You can just stir really well or pour into a stand-up blender if you want.


Once it's mixed, pour it into the pie crust.


Let it cool for awhile at room temperature.


Then refrigerate to set completely!  Patience is a virtue here.  Trust me.


Chocolate Velvet Pie

one 9" pie crust (regular baked, graham cracker, or oreo pie crust recipe below)
1 can evaporated milk
2 egg yolks (or 1/2 cup pasteurized egg product)
2 cups chocolate chips
8 oz. cream cheese

Prepare pie crust.  Heat milk and egg in medium saucepan until just before boiling, or until mixture coats back of spoon.  Do not boil!  Remove from heat and stir in chocolate chips and cream cheese.  Allow to melt and blend well.  Pour into prepared pie crust.  Cool at room temperature before transferring to refrigerator to set completely.

Oreo Pie Crust

24 oreos
1/4 cup butter, melted

Crush oreos.  Mix in butter.  Press into 9" pie plate.  Bake at 350 for 8-10 minutes, or until crust is set.

Mama's Oatmeal Cookies


These are for all those old-fashioned cookie lovers out there.  Simple and delicious.  Easy enough to whip up  on a weeknight and pack in kids' lunches.  And they have oatmeal--so they're healthy, right?

You can pick your poison as far as the fat goes here:  butter, margarine or shortening.  I usually go with shortening and save the butter for "fancier" cookies.  Cream it together with the sugar.


You need it to be nice and pale and creamy...


Mix in your eggs and vanilla.


Scrape down the bowl if you have to, to make sure all the butter and sugar gets worked in with the dry ingredients.


Stir in flour, baking soda and salt before the oats and other mix-ins.  I forgot a picture--sorry!


Mix in the "chunky" stuff.  Oatmeal cookies are fun because they're versatile as far as mix-ins go.  Oatmeal is necessary, of course, but you can add chocolate chips, butterscotch chips, peanut butter--whatever you want!  Raisins, cranberries, white chocolate...


Drop 'em by tablespoonfuls on a greased cookie sheet.


Take them out when they're good and golden.


Mama's Oatmeal Cookies

1 cup butter, margarine or shortening
1 cup brown sugar
1/2 cup granulated sugar
2 eggs
1 tsp vanilla
1 1/2 cups flour
1 tsp baking soda
1/2 tsp salt
1 tsp cinnamon (optional)
3 cups old fashioned rolled oatmeal
2 cups mix-ins:  chocolate chips (milk, white or semi-sweet), raisins, dried cranberries, butterscotch or peanut butter chips

Cream fat and sugars.  Add eggs and vanilla and mix well.  Combine dry ingredients, except oatmeal,  and mix into wet ingredients.  Stir in oatmeal and mix-ins.  Drop by tablespoonfuls onto greased cookie sheet and bake at 350 for 10-12 minutes, or until very golden brown.

Tuesday, December 11, 2012

Double Chocolate Chip Cookies


Since my Mama and I are in Christmas cookie baking mode in our two homes on either end of the country, I hereby proclaim it cookie week on the blog.  It's one thing that brings us together, even from far away!  

I'm starting with this variety because of my Dad.  I'm sure many men appreciate a good cookie, but Dad seemed to have (still has!) a fondness for them, probably because he knew they were made especially because somebody loved him!  

When it was Dad's turn to bake and show a little cookie love, it seemed like he usually chose to make chocolate cookies.  It was just a little different from our usual chocolate chip, but still with the ever-so important element:  chocolate. :)

You'll notice as we churn out some yummy recipes on here, the method is pretty much the same for every cookie.  That's how it's supposed to be!  It's how you get that crispy edge and chewy middle most people love about cookies.  So let's get baking.

Start by combining the butter, shortening and sugars in a mixing bowl,


and beating (preferably with an electric mixer) until creamy.  

Cookie notes:  softened butter (which most cookie recipes call for) is really just out of the fridge an hour or so before.  It gives a little when you squeeze it, but it won't squish and goo all over your hand.  Also, "creaming" the butter and sugar cuts pockets into the fat for the sugar to perfectly incorporate, and the batter will lighten in color quite a bit when properly done.


Once your mixture is creamed, add in the eggs and vanilla.


Mix those in, then add the dry ingredients.  You can (and maybe should) sift them together first, but I always just cheat a little and sprinkle them all over each other and sort of "mix" them together before letting them blend with the wet ingredients.  You can do that, too.  I won't tell if you don't.


You can stop there if you must, but if you're feeling like chocolate chocolate is the order of the day, stir in some chocolate chips.  Or M&M's.  Or Andes' Mints.  You get the idea.


Drop them by spoonfuls on a baking sheet.  I usually go for the smaller size (teaspoonfuls/small cookie scoop) so you don't go into chocolate overload.


You want them to look a little soft in the middle.  Fudgy is the name of the game here.  Eat some right now, off the pan.  


If you transfer them to a cooling rack a little too warm, you'll "accidentally" break a couple, which is a good excuse to eat them hot.  They're still good cooled of course, but warm and gooey they're to die for.


Double Chocolate Chip Cookies

1/2 cup butter, softened

1/2 cup shortening
3/4 cup brown sugar
3/4 cup granulated sugar
2 eggs
2 tsp vanilla
2/3 cup cocoa
3/4 tsp baking soda
1/4 tsp salt
2 cups chocolate chips

Cream fats and sugars.  Mix in eggs and vanilla.  Combine dry ingredients and mix well.  Stir in chocolate chips.  Drop by teaspoonfuls onto ungreased baking sheet and bake at 350 for 6 to 8 minutes, or until edges are crispy and centers still look a little chewy!  Cool on wire racks and store in an airtight container.

Monday, December 3, 2012

Holiday Food: On A Budget

Christmas time is a wonderful time....of busy-ness, that is. Every year I debate how I'm going to work plate of goodies, a big Christmas Eve dinner, stocking treats and everything else into our food budget. I'm not one to increase my food budget easily and tend to experiment with "how little money do you need" before I'll increase it.

That being said, here are some ways to get through the Christmas eating season without blowing your food budget out of the water.

1. Plan ahead. Well, obviously, but in this case I'm talking about buying ahead of time. If you like turkey at your Christmas festivities, buy TWO at Thanksgiving. That's when they're cheapest! Or if you prefer a roast or brisket, look at the "reduced" meat section at your local grocery store. This is meat that is a day or two away from its expiration date. Obviously you won't leave it in your fridge for the next 3 1/2 weeks. No, you'll freeze it and thaw it the day that you need to cook it. You can get meat for really cheap and it's still good!

2. Stick with good, traditional treats. Before you go buying fancy ingrediens to make your own Christmas candies, think about what you have. Do you have the ingredients to make peanut butter cookies? For a few dollars of Hershey's Kisses you can make the "kiss cookies"(pb cookies with a kiss in the middle). Instead of making eggnog fudge (delicious, but expensive), how about making gingerbread men? Or rich peanut butter fudge? You don't need to buy fancy paper plates--just buy some colored cellophane paper instead. Or have your kids decorate white paper bags! There are lots of ways to make a fun treat without spending lots of moolah.

3. Learn how to make things. I used to think pies were so hard...until I realized they weren't! It is a lot cheaper to make your own pie crust and filling than it is to buy a $4 pre-made pumpkin pie. Liz posted a great crust and pie recipe a few posts back. Easy, delicious and cheap! Don't buy rolls-- make them yourself. You can get more bang for your buck if you're willing to take the time to peel the potatos instead of buying a box of potato flakes.

4. Shop the clearance section. My grocery store has a clearance section with over-stocked or "damaged" items. During the holiday season you find a lot of things on clearance. Just today I found 200 cans of Ocean Spray cranberry sauce-- $.50 apiece. Last year I bought four turkey roasting pans for $.50 apiece (normally $3.99).  Brining bags, aluminum foil, "old" candy (for stockings) and other things have been great finds. I also always buy the damaged cans. Dented isn't a problem-- rusty and bulging is! I have bought artichokes for under a dollar (for a pasta salad or delicious dip), tahini for only a few dollars (for making hummus), and various other cans for cheap. If you're bringing a dish to a Christmas potluck, see what the clearance section has to offer and base your dish off that!

5. Be deliberate in your menu planning. I'm not talking about your regular menu planning here. I'm talking about a big holiday dinner menu. For example, I'm planning a holiday dinner this year. There is one dish that really means "Christmas" to me. But....I'm the only one in my family who likes the dish. The first few years I was married I made a big bowl of it. Lots of money. And I threw half of it away because I couldn't eat it before it went bad. Now I only make enough for myself for a few days.  If you think you have to make something or buy something just because it's Christmas, reconsider. Do enough people like it? Is it worth the time or money for the dish? How long will it stay good in the fridge or freezer if you have leftovers?

I hope you have a great Christmas with tons of food...and tons of money left in your food budget on the 31st!

Good luck!