Friday, March 22, 2013

Country Cornbread


Here's a quick country cookin' recipe for you, in case dinner sneaks up on you like this weekend has done to me.  

This recipe is a basic and simple, homemade cornbread that keeps you away from using the box.  But you can jazz it up all you want, if you have the resources to do so.  

Despite its simplicity, this cornbread demands your attention.  The edges are perfectly crispy, while the middle stays dense and moist.  Each bite is a little bit sweet with the perfect texture to keep it from being too gritty or dry.  

When we first moved to Southern California, our church hosted a chili cook-off.  Some members of our congregation also signed up to bring cornbread, so we'd have a "well-rounded" meal.  I opted to bring both. While my chili did get some attention for being unique (it was Cincinnati style chili--recipe soon!), it was the cornbread that the older gentlemen in the group stood around munching until it was gone.  After sampling many different varieties of cornbread, this one won the church-goers first prize.

You can adapt this recipe by using buttermilk in place of the milk, which will give it a little more lift and richer flavor.  For a savory twist, saute peppers and onions and stir those into the batter.  Or a can of creamed corn.  Or both!  I actually love this for breakfast with maple syrup or honey drizzled on it.  So many options.

A note about dishes:  you can use fewer dishes by first melting your butter in the dish you're going to mix in.  To really cut down on the cleanup (while providing even crispier edges), preheat a large cast iron skillet and melt the butter in there, and proceed with mixing your batter right in the skillet.  Then transfer to the oven.

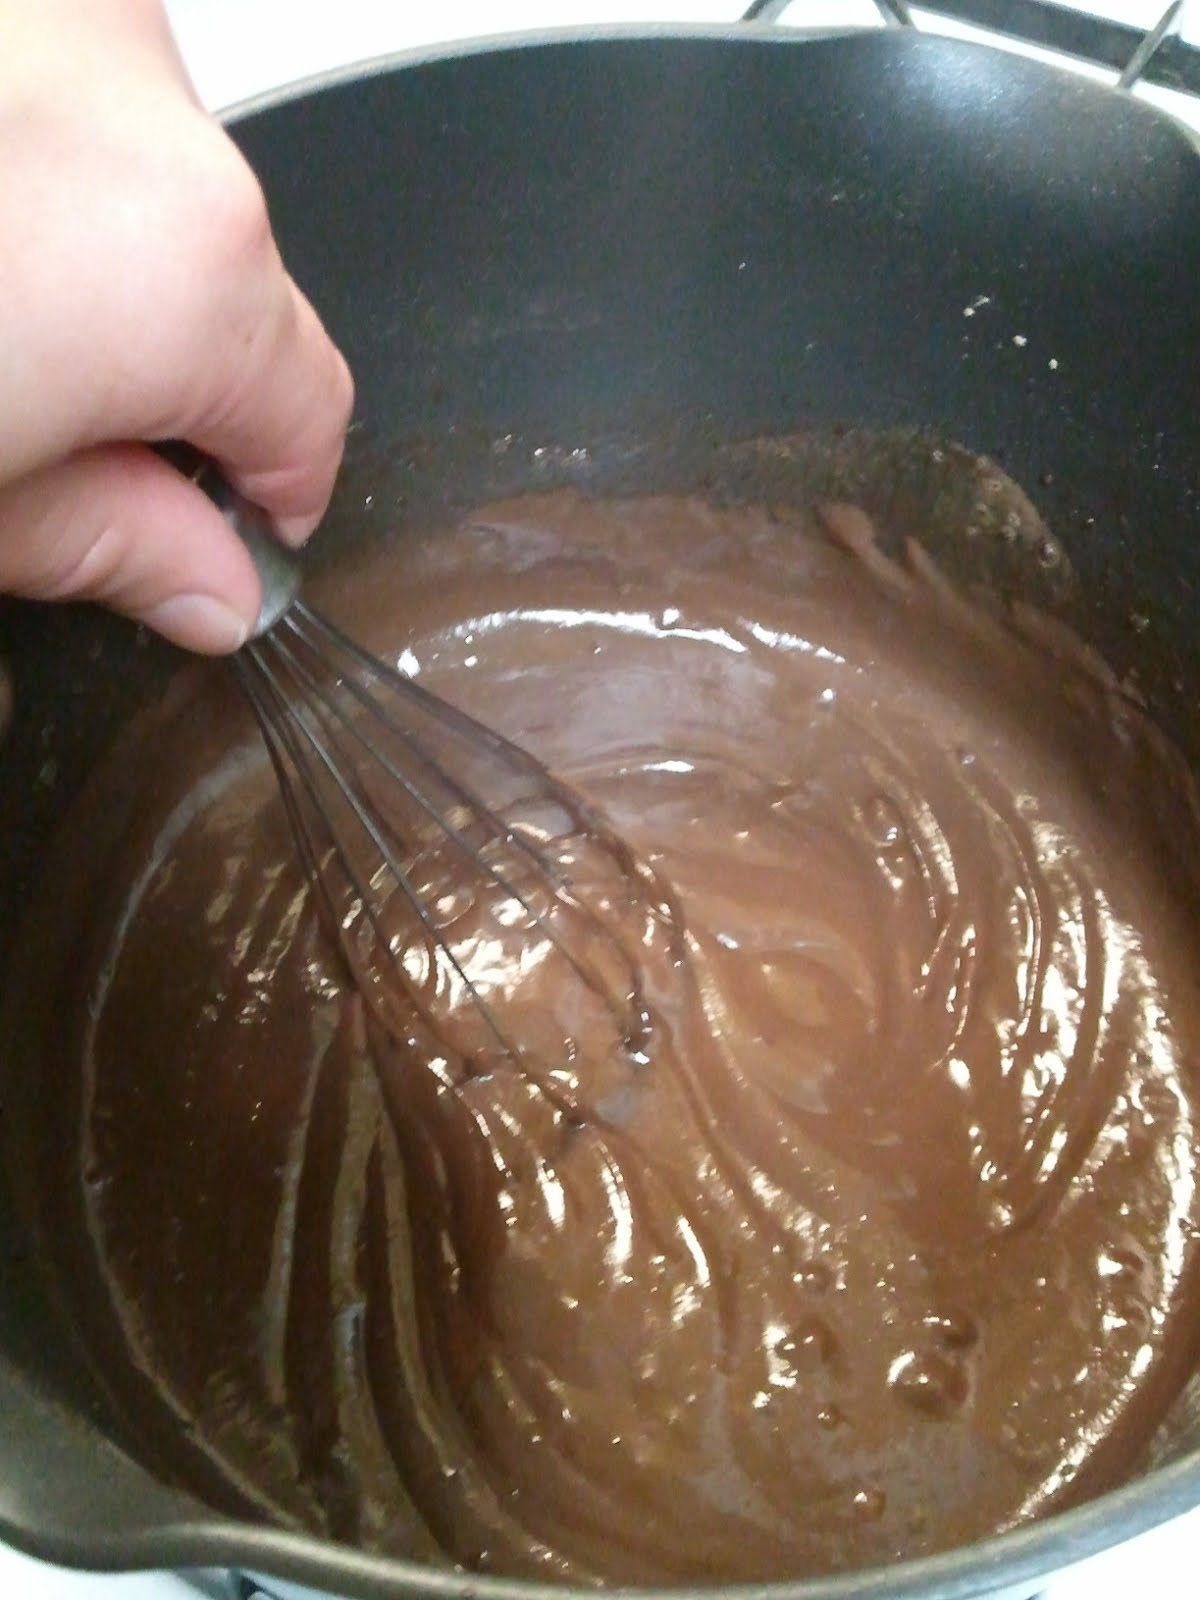
Either way, combine wet ingredients first, then mix in the dries.


Give it a good stir, but don't over-mix--there will be lumps.  Pour into a greased baking dish.


Bake in preheated oven until golden brown.


Country Cornbread
slightly adapted from allrecipes.com

1/2 cup butter, melted
1/2 cup sugar
2 eggs
1 cup milk 
1/2 tsp baking soda
1/2 tsp salt
1 cup cornmeal
1 cup flour

Preheat oven to 375.  Combine wet ingredients, including sugar, in medium mixing bowl.  Add dry ingredients and stir until just moistened.  Pour into greased 8" square pan.  Bake for 30-40 minutes, or until golden and toothpick inserted comes out clean.

Monday, March 18, 2013

Chocolate Meringue Pie


I know, I know.  Another pie.  We love a good pie at our house.  And this, my friends, is a good pie.  

I'm doing another pie today for my Daddy.  He's celebrating a very special day this week, and if I were there in my old hometown, I'd make it for him.  From what I know, Daddy's favorite pies are chocolate pudding pie and lemon meringue pie.  So when I found this recipe, it looked like the perfect combination of the two. 

The filling is a little different from a cooked pudding filling.  It's a little more dark-chocolatey and a little less milky.  It's perfectly decadent without being too rich to enjoy a good-sized piece!

Start by combining the sugar, cocoa, flour and salt (and milk powder, if using) in the bottom of a saucepan.  


Mix it all together before adding the liquid.


Mix your egg yolks together with milk (or water, if using milk powder).


Pour the egg mixture into the saucepan and stir.


Cook over medium heat, stirring constantly.  It won't really boil before it starts to thicken, so watch it carefully.  You may see one or two bubbles surface, but once it gets good and thick, remove from heat and stir in the vanilla.


Pour it into a prebaked pie crust.


To prepare the meringue, beat egg whites until frothy and bubbly.  Then add sugar and vanilla.


Continue to mix until you form stiff peaks.


Spread egg whites onto pie, spreading meringue all the way to the crust.  No peek-a-boo with the filling!  (My meringue was a little over-whipped.  Don't be like me.)


Bake until meringue becomes golden.


Allow to cool at room temperature for 2-3 hours before refrigerating.  Chill several hours before serving.


Chocolate Meringue Pie
slightly adapted from yourhomebasedmom.com

1 prebaked 9" pie crust
1 cup sugar
3 heaping T cocoa
2 heaping T flour
pinch salt
3 egg yolks
1 1/2 cups milk (or 1/4 cup milk powder + 1 1/2 cups water)
1 tsp vanilla

for the meringue:
3 egg whites
3 T sugar
few drops vanilla

Combine sugar, cocoa, flour and salt (and milk powder, if using) in medium saucepan.  Mix together milk (or water) and egg yolks.  Pour egg mixture into cocoa mixture.  Cook over medium heat, stirring constantly, until mixture begins to thicken.  Do not boil.  Stir in 1 tsp vanilla, and pour into prepared pie crust.  For the meringue, beat egg whites with electric mixer until frothy.  Pour in sugar and vanilla, and continue to mix until stiff peaks form.  Spread over pie filling, all the way to the crust.  Bake in oven preheated to 350 degrees for 15 minutes, or until golden.  Cool at room temperature 2-3 hours before refrigerating.  Chill before serving.  

Thursday, March 14, 2013

Lemon Pie


Happy Pi Day!  (3.14--get it?)  I know, I'm totally jumping on the bandwagon here with posting a pie recipe today, but since we love pie, and since this pie has a fresh springtime flavor, I just couldn't resist!

This is one of my honey's (honey hereafter referred to as "Dr. S", seeing as "Mr. Pots" was just too confusing, and he's well on his way to actually becoming "Dr. S") favorite pies.  It's tangy and cool and oh, so refreshing after a stick-to-your ribs dinner, not to mention nice and light if you're all about not ruining a dinner salad with a rich and heavy dessert. 

Dr. S likes his pie without the meringue, but you will have leftover egg whites from this recipe, and you can certainly whip them up and top the pie for that ever-classic "lemon meringue" combination--my daddy loves it that way!

Start with a prebaked pie crust.  If you need a recipe, try this one.  For a little more complicated and a lot more flavor, this crust is even better.


In a medium saucepan, combine sugar and cornstarch.


Gradually pour in water...


and egg yolks.  


Mix it well and bring to a boil over low heat, stirring constantly.  Boil one minute, then remove from heat.


Pour in lemon juice (and zest, and butter to prevent frothing, sorry, no photo).


Pour into prepared pie crust.


Cool at room temperature before refrigerating.  Chill before serving.


Lemon Pie

one 9" prepared pie crust
1 cup sugar
1/4 cup cornstarch
1 1/2 cups cold water
3 egg yolks
1/4 cup lemon juice
zest of one lemon
1 T butter

Combine sugar and cornstarch in medium sauce pan.  Gradually stir in water and egg yolks.  Bring to a boil over low heat, stirring constantly.  Boil one minute.  Remove from heat.  Pour in lemon juice, zest and butter and stir until smooth.  Pour into pie crust.  Cool at room temperature, chill in refrigerator before slicing and serving.

*to add the meringue, whip the egg whites with electric mixer until frothy.  With mixer running, pour in 1/4 cup sugar.  Continue to mix until stiff peaks form.  Spread over (warm) pie, spreading meringue all the way to the crust.  Bake in oven preheated to 350 for about 10 minutes, or until peaks start to turn golden brown. Cool completely at room temperature before refrigerating, and do not cover.


Wednesday, March 13, 2013

Mint Brownies


I was first introduced to these brownies when I started college at BYU.  They were a special treat I shared with family visiting from out of town.  When my brother started attending there several years later, he worked at the BYU creamery making these beauties, and even memorized the recipe from making them so often.  But guess how the recipe went?  50 lbs sugar, 30 lbs cocoa, etc.  Yikes!  

I went on the hunt and tried a few different recipes, and most of them were pretty perfect.  It's hard to go wrong with mint and chocolate!  My favorite ended up being a recipe from Our Best Bites, but I did have one little problem with them though.  The brownie itself (not the frosting or ganache) was too much work for too little payback.  The only part of the brownie that ended up at all fudgy was plenty under-cooked, which I don't prefer.  They were just a little cakey for me.  So next time I'll use our favorite brownie recipe as a base instead.

No matter what you do, start by mixing together your brownies.


Line a pan with foil and grease it.  The foil makes the cutting process simpler.


Pour on the batter...


And bake until your knife comes out with fudgy little crumbs on it!


Mix up the frosting.  Color it if you want to.


Spread it onto the (cooled) brownies.  Refrigerate for a couple of hours.


To prepare the ganache, melt some chocolate and butter together.


And stir until it's nice and smooth and glossy.


Don't overheat it--you want it to be spreadable, not burned!


Give your frosted brownies a nice thick layer of chocolate.  Refrigerate.


Remove the brownies from the pan by lifting the foil straight out, cut and serve!


Keep them refrigerated if you want them to stay pretty.  Soften a few at a time on a plate at room temperature for serving.


Mint Brownies
adapted from Our Best Bites

for the brownies:
3 eggs
1 cup oil
2 tsp vanilla
2 cups sugar
1 cup flour
2/3 cup cocoa
1/2 tsp baking powder
1/2 tsp salt

for the frosting:
2 cups powdered sugar
1/4 cup butter, softened
1 tsp peppermint extract
1-2 T milk, or until desired consistency
a couple drops of food coloring, if desired

for the ganache:
1 cup chocolate chips
2/3 cup butter

Prepare brownies by first mixing eggs, oil, vanilla and sugar in a large bowl, then adding dry ingredients and mixing until just moistened.  Pour into 9x13 inch pan that has been lined with foil and greased.  Bake at 350 for about 20 minutes, or until knife inserted comes out with a few crumbs.  Allow brownie to cool completely.  Prepare frosting by mixing all ingredients until well combined, then spread over cooled brownie. Refrigerate for two hours.  Prepare ganache by melting chocolate and butter together, then mixing until smooth.  Spread over chilled, frosted brownies.  Refrigerate until firm, about 2 hours.  Remove from pan by lifting foil straight out, cut into bars, and serve.

Thursday, March 7, 2013

Crispy Granola Bars


When we moved here five years ago (and when I first started really interacting with other moms) my first child was 9 months old and just learning to love finger foods.  Everything anyone else was eating, he wanted too. 

We loved sharing with our friends.  But at playgroups I always got sermons preceding anything any other mom gave my child.  They included things like, "this is 100% organic" or "this is made with all-natural ingredients" or "there are only 5 items on the ingredients list for this" or "this doesn't have any preservatives" or, or, or...

I felt a little intimidated!  I was really honored when one of my new friends invited me to go to Trader Joe's to shop with her, but (besides not knowing at first what it was) it just wasn't in my budget to shop there.  So I learned to improvise.  I was fine serving my kid graham crackers and cheerios, but if I wanted to be able to pass things out and share at playgroup, I had to step things up a notch.  So I started making things homemade.

I've made homemade graham crackers, cheese crackers, wheat crackers, pretzels, and many different types of granola bars.  Some recipes are worth the extra effort.  Some aren't.  This one is a winner because it's pretty quick, and it's also pretty versatile. 

And now that I've learned how easy some of these things are to make, I'm glad to serve them to my kids (four of them now!) more often, while keeping things a little healthier.

Start by combining the dry ingredients in a bowl.  You can change it up however you like, even to make them gluten free or to address other diet concerns.  Just keep the amounts for similar types of things the same.  In this recipe, I'm using a combination of oats, whole wheat flour, wheat germ, and brown rice cereal.  I've done GF oats, brown rice flour and GF brown rice cereal.  You could switch the amounts and include shredded coconut, flax seed meal, or other yummy additions.  Substitute dried fruit, nuts or other flavored chips for the chocolate.  Just try not to change the measurements on types of ingredients (mostly the texture) too much.


Then combine the wet ingredients and pour it into the dries.  You can vary things here, too, if you want, and use softened butter instead of oil or substitute a little peanut butter for oil.
Mix well.  Little hands are good for this.
Pour into a prepared pan.  I doubled the recipe, so I'm pouring it onto a jellyroll pan lined with parchment paper.  You could do the same and line it with a silpat liner.  Or you could just grease it.  For a single recipe, use a 9x13 inch pan greased or lined with parchment paper or greased foil, or form your own rectangle on a large pan.  Whatever you do, just make it easy to remove!
Press it together nicely so it holds its shape after baking.
Bake in preheated oven until the edges start to get toasty.
Don't wait for the whole thing to get toasted like I did.  It tastes good, but it's nearly impossible to cut.
Also, only wait about 10 minutes, then remove from the pan and cut.  Otherwise, it'll make a big crumbly mess.  (If you do get distracted on one or all of these steps and end up with extra-toasted, crumbly granola, it's a really delicious cereal!)  Allow to cool completely before serving.

Crispy Granola Bars

4 cups old fashioned rolled oatmeal
1 cup crispy rice cereal
1/4 cup flour
1/3 cup brown sugar
1 cup chocolate chips
1/2 tsp salt
1/2 cup oil
1/2 cup honey
1 tsp vanilla

Combine dry ingredients in large mixing bowl.  Combine wet ingredients in glass measuring cup then pour over dry ingredients.  Mix well.  Press into 9x13 inch pan, greased well or lined with parchment paper or greased foil.  Bake at 325 for 25-30 minutes, or until lightly browned on the edges.  Let cool 10 minutes before cutting into bars.  Let cool completely before serving.