Monday, August 19, 2013

Beans for Burritos


Beans.  This is a genre of food some people need to learn to love.  I was probably one of them.  

When Dr. S and I were newlyweds, we were still working on our undergrads and very poor.  So we ate a lot of beans.  We substituted beans in lots of places you might normally use meat, and learned to appreciate the flavor and texture of various varieties.  

Here's a little secret for you:  all it takes is a good recipe.  You just have to try something that actually tastes good, and voila!  You're a bean lover.  

First things first--you don't have to save these beans just for burritos.  You can serve them as a side dish or over rice, or heap them in a big bowl with cornbread or warm tortillas.  Mash them up and use them in a layered dip.  Cool them and toss them into a bean salad.  Whatever floats your little bean boat.

This recipe is very simple, very filling, and very delicious.  You start by soaking the beans.  Dump them into a large bowl and cover them with water--plenty of extra water!  (Sorry I forgot to snap a picture for this part.  But you can put beans in a bowl of water, yes?)  If they're really soaking up that water quickly, add some more water before you go to bed.  Leave them out on the counter while you sleep.

In the morning, drain and rinse those beans. 


Note:  you can skip the soaking step, but I hear the soaking and rinsing cuts down on the "potency," if you know what I'm sayin'.

Next, put the beans in a crock pot (or you can use a large pot on the stove, but then you'll have to babysit it) and cover with lots of fresh water!  Or chicken/beef/vegetable stock.  I usually just go with the water, though, and add bouillon later.


Cook on high for about six hours.


If the beans are popping out of the top of the water, add more!


After about six hours, the beans should be pretty much cooked.  You don't want to add particular ingredients (especially acidic ones) during the cooking process, because it halts the cooking process for the beans.  So cook the beans first, then season them.  Okay?

Add a few hot chilis.  Jalapenos work great, but I always use serranos, since we have a bush in our garden.  I add 3-4 small serranos, seeds removed.  This gives the beans a little kick, but still mild enough for the kiddos.  If you leave the seeds in, it'll be pretty spicy!  Just so you know.


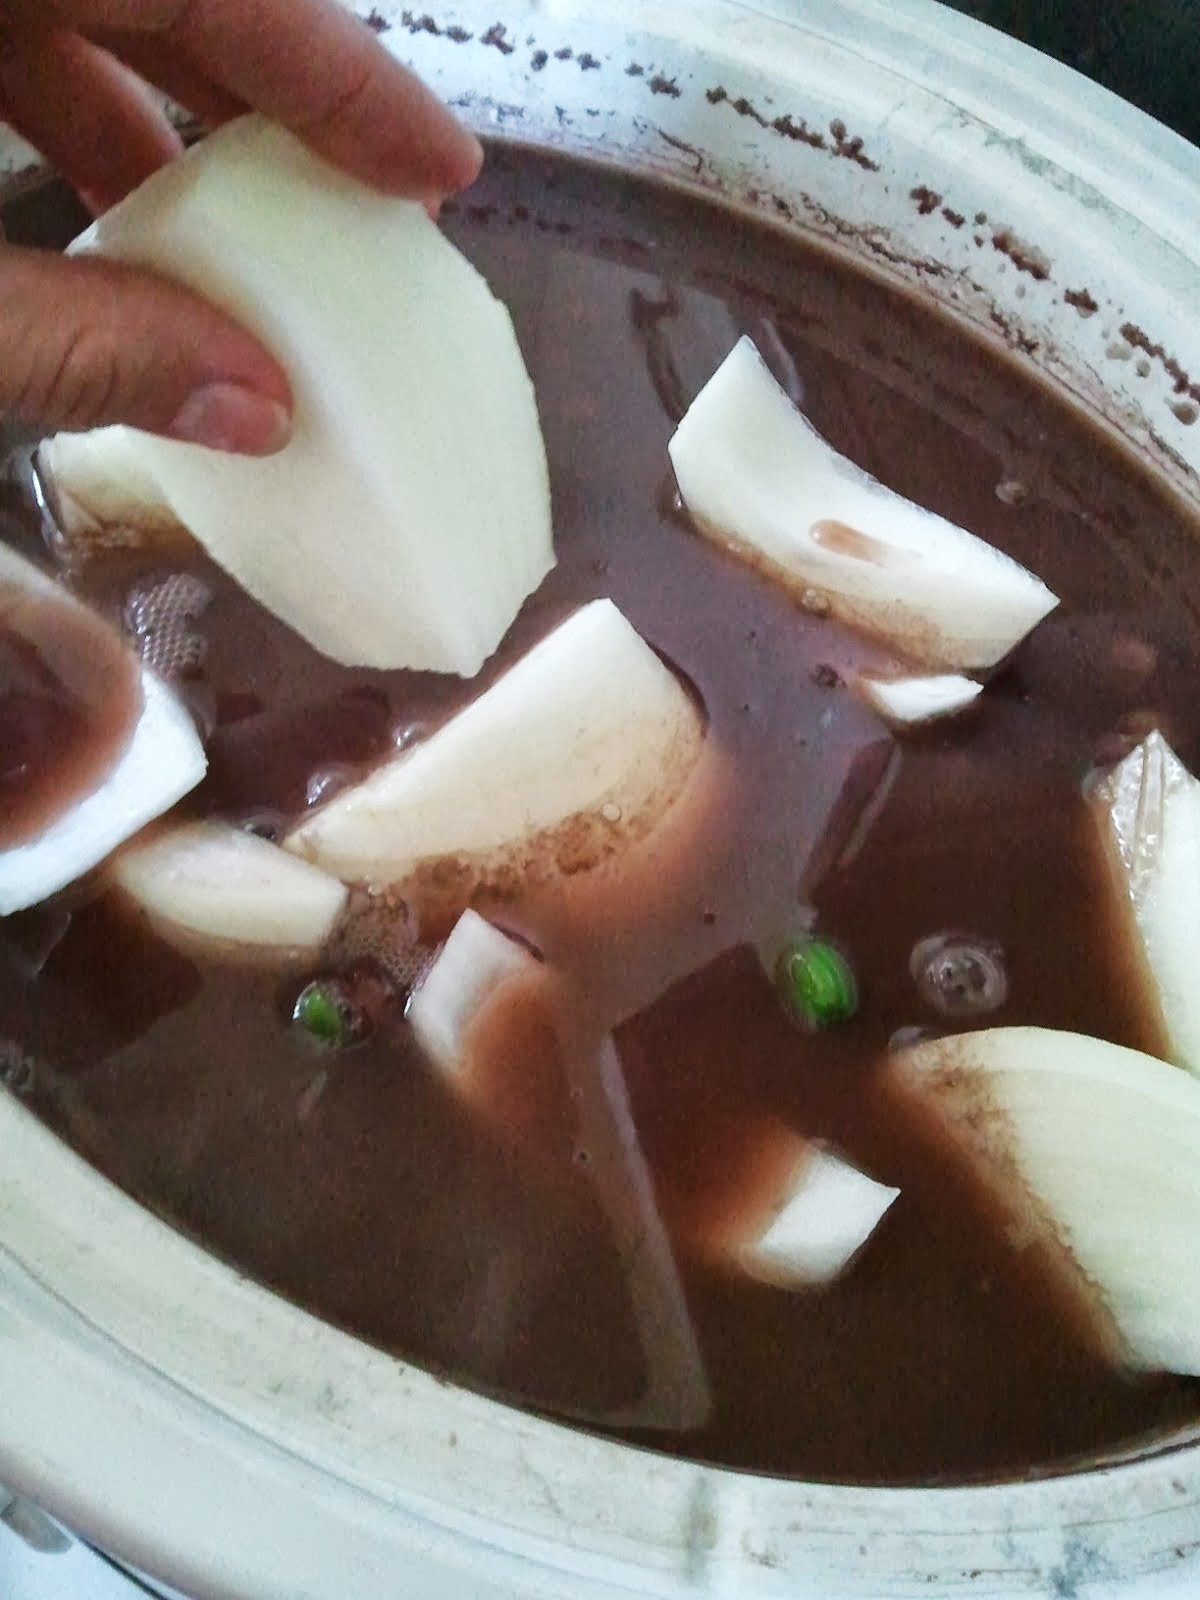
Next, I throw in a couple onions.  Don't bother with chopping--just peel and quarter and call it good.


Plenty of minced garlic...


and a little cumin for some flair.


And lastly, make sure you salt that pot of beans!!  Please.  You'll regret it if you don't.  If you're using broth or bouillon though, check the salt content there before adding more.  You can always taste the broth in the pot and add to it.


Let that cook on low for another couple hours, then serve 'em up.  These can be served as a side dish, over rice, or (of course) stuffed in a burrito.  You can also drain most of the broth, reserving about 1 cup just in case, and mash with a potato masher (don't puree the heck out of the poor things) to get that "refried" bean texture.

IMPORTANT STEP HERE.  Before serving, stir the pot and sift out those chilis.  Unless you really like things hot--then don't worry about it!  Just don't get mad at me if you forget and fold that serrano into your 4-year-old's burrito.


Beans for Burritos

2 lbs dry beans, any variety
several quarts of water or stock--be prepared with at least 1 gallon
3-4 small chilis, or 1-2 large, sliced down the center and seeded.
2-3 onions, peeled and quartered
1 tsp ground cumin
bouillon, if desired (I go with about 6 cubes)
salt, to taste (start with 2 tsp)

Pour dry beans into large bowl and cover with water, at least two inches above beans.  Let sit on counter overnight.  In the morning, drain and rinse beans.  Pour into crock pot and cover with fresh water or stock.  Cook on high for 6 hours.  Add water or stock if beans begin to absorb the liquid too quickly.  When the beans are cooked, add chilis, onions, cumin, bouillon and salt.  Mix well, replace the lid, and cook on low an additional 2-3 hours, or until ready to serve.  If desired, drain broth, reserving 1 cup, and mash with potato masher.  Serve in burritos, over rice, as a side, in a salad, in a dip, or however you desire.  Makes 40 side servings, or 20 generous helpings.


Tuesday, August 13, 2013

Chewy Granola Bars


I found this recipe a couple years ago when I was trying to lessen the sting of a "no dessert" diet.  I was banned from making cookies, cakes, pies, sweet rolls, and anything inherently dessert.

However, I'm a baker at heart, and staying out of the kitchen and away from the oven was almost harder than not eating the results of what comes from them.  Baking often serves as a kind of therapy for me, especially when there's a delicious payoff at the end.  

So I baked a few loaves of white bread, and that tided me over for a few days.  But I still really just wanted a cookie, and it drove me crazy that I couldn't make any!  I went on the hunt for a "healthy" replacement, and this is what I found.  Granola bars are really just cookies in disguise, but I won't tell if you don't.

These granola bars are not crunchy at all, (unless you put nuts in them) but that's why I love them for our kids.  For a crispy granola bar, try this recipe.  Our crispy granola bars are a little crumbly but these are not super crumbly, they're a pretty substantial snack, and they travel well.  They'd be perfect packed in a school lunch.

Start by mixing the dry ingredients in a large mixing bowl.


Add the wet ingredients,


and mix well.


Press into greased pan.  The original recipe makes a 9x13 inch pan, but here I doubled the recipe, so I used a half sheet pan.


Bake until lightly golden (not completely browned, like I accidentally did).  All the way browned is still good, but barely browning on the edges is better.


After about ten minutes of cooling time, cut into bars.  Don't forget!  You'll regret it.


Allow to cool completely before serving.  Store covered for up to 2 weeks, or in the freezer for several months.

Chewy Granola Bars

2 cups rolled oats
1/2 cup brown sugar
1/2 cup wheat germ (can substitute oats or flour if you don't have any)
3/4 tsp cinnamon
1 cup whole wheat flour
3/4 cup raisins, chocolate chips, nuts, or other mix-ins
3/4 tsp salt
1/2 cup honey
1 egg, beaten
1/2 cup oil
1 tsp vanilla

Combine oats, brown sugar, wheat germ, cinnamon, flour, salt and mix-ins in large mixing bowl.  Mix well.  Combine Remaining ingredients in glass measuring cup and mix well.  Pour wet ingredients into dry ingredients.  Stir to combine.  Press mixture into greased 9x13" pan.  Bake at 350 for 20-25 minutes, or until edges begin to brown and center looks set.  Remove from oven.  Allow to cool ten minutes before cutting into bars.  After cutting, allow to cool completely before serving.  Store covered at room temperature for up to two weeks, or several months in the freezer.

Monday, August 5, 2013

Freezer Food: Chicken Pot Pie Tutorial


Now, before I get rolling and you start thinking, "I've read this somewhere before..." I have to confess I've already done this recipe, and not too long ago!  But this is a little different spin, so stick with me.

The school year is beginning for lots of families right now, and with that often comes extracurricular activities, after school meetings, clubs, lessons, and more.  Time for cooking dinner is nearly non-existent, but the desire to have a homemade dinner together doesn't go away for most families.  That's why I love freezer cooking!

We feel it's very important for our family to sit down together every night, have a family meal together, and talk about how everyone's day went.  When you spend the majority of the day going many different directions, this time together gives us the opportunity to hear about successes and failures, and identify how we can help each other.  

For me personally, one of my successes is serving a healthy, substantial meal to discuss all those other things over!  So in the moments that feel a little less crazy, I put together some meals to put in the freezer for later.  Chicken Pot Pie is one of my favorite freezer meals to use, because it's nice enough to not feel so much like a "casserole," but it still has all the elements:  protein, veggie, grain, and creamy gravy!

The method here is a little different than the traditional chicken pot pie on this site.  Instead of doing one pie at a time, this is a bulk-cooking method which allows you to make many pies at a time.  

You start by making several pie crusts.  I recommend this recipe, since it's the most simple and easy to work with, and can also be made on a large scale.  Remember you'll need a double pie crust, but you can make all of the bottom crusts at the beginning, fill the pies, and make a new batch of dough later.


Start the filling with some cooked chicken.  Or turkey.  Or pork.  Or whatever cooked meat you want to use.


Fill to the top with plenty of veggies.  Use a big bag of frozen!  It's easier!


Next you need gravy, and plenty of it!  Start by melting the butter in a large pot.


Whisk in some flour,


then pour in plenty of chicken broth.  Don't worry about the clumps--just whisk and whisk and they'll go away!


Cook, stirring constantly, until the gravy is thick and creamy.


Pour a generous amount over each pie.


Top with a second pie crust, trim, seal and flute the edges, cut vents for steam.


Now, instead of baking, wrap in plastic wrap (and again in foil to prevent freezer burn) and put in the freezer.  Remember not to stack them until frozen, lest you ruin your beautiful artwork!


When ready to bake, preheat oven and place frozen pie directly in oven (can place on baking sheet to prevent spillage) and bake as with regular chicken pot pie, adding 15-20 minutes baking time to prevent a doughy middle.

Freezer Chicken Pot Pie 
(Recipe makes one pie.  Multiply the following quantities for desired number of pies.)

1 prepared double pie crust
2 cups cooked and chopped/shredded chicken, turkey, pork or other meat
2 cups frozen mixed vegetables
1/4 cup butter
1/4 cup flour
1 1/2 cups (one 12 oz can) chicken broth, milk, or water

Prepare pie crust, leaving top off.  Fill crust with chicken and veggies.  Melt butter in large pot.  Whisk in flour.  Add broth and stir continuously until smooth and thick.  Pour gravy over veggies and meat.  Top with second pie crust.  Seal and cut slits to vent steam.  Cover and refrigerate or freeze.  When ready to bake, preheat oven to 400 degrees.  Bake for 60 minutes, or until entire top crust begins to brown, adding foil around edges of crust if it becomes too dark.  Allow to cool 15 minutes before cutting and serving.