Thursday, June 27, 2013

Mama's Potato Salad


Potato salad seems to be one of those foods people get opinionated about, and I'm pretty sure it has everything to do with what they ate as a kid at family barbecues throughout the summer.  

There are so many different kinds, to begin to represent all of them would be impossible.  There are salads made with red potatoes, new potatoes, and tiny little potatoes you hardly have to cut.  Some dressings are made from primarily fresh ingredients, while others stick to pantry and refrigerator staples.  Some salads can stand alone with the use of bacon and other hearty ingredients, while some stick on the lighter side.   Most are served cold, but some potato salads taste better warm.  No matter what, they're (usually) all delicious, and a great accompaniment to grilled meat.

This is my mama's potato salad--the one I grew up loving and looking forward to at big family gatherings.  I ultimately had to learn how to make it by standing at Mama's elbow while she made it and watching carefully, since it was one of those "a little of this, a little of that" recipes.  The best ones are.

Start by peeling, washing, and chopping up potatoes.  Mama likes to please the menfolk of the family and doesn't chop into little dainty potato bites--these are good sized cubes, but still small enough for the kids in the family to not be in danger of choking.


Cover them with water and turn the heat on medium-high.


Mama also uses boiled eggs in this recipe.  The ratio of eggs to potatoes is 1:1, and don't you forget it.  Erin posted an awesome boiled egg how-to here.


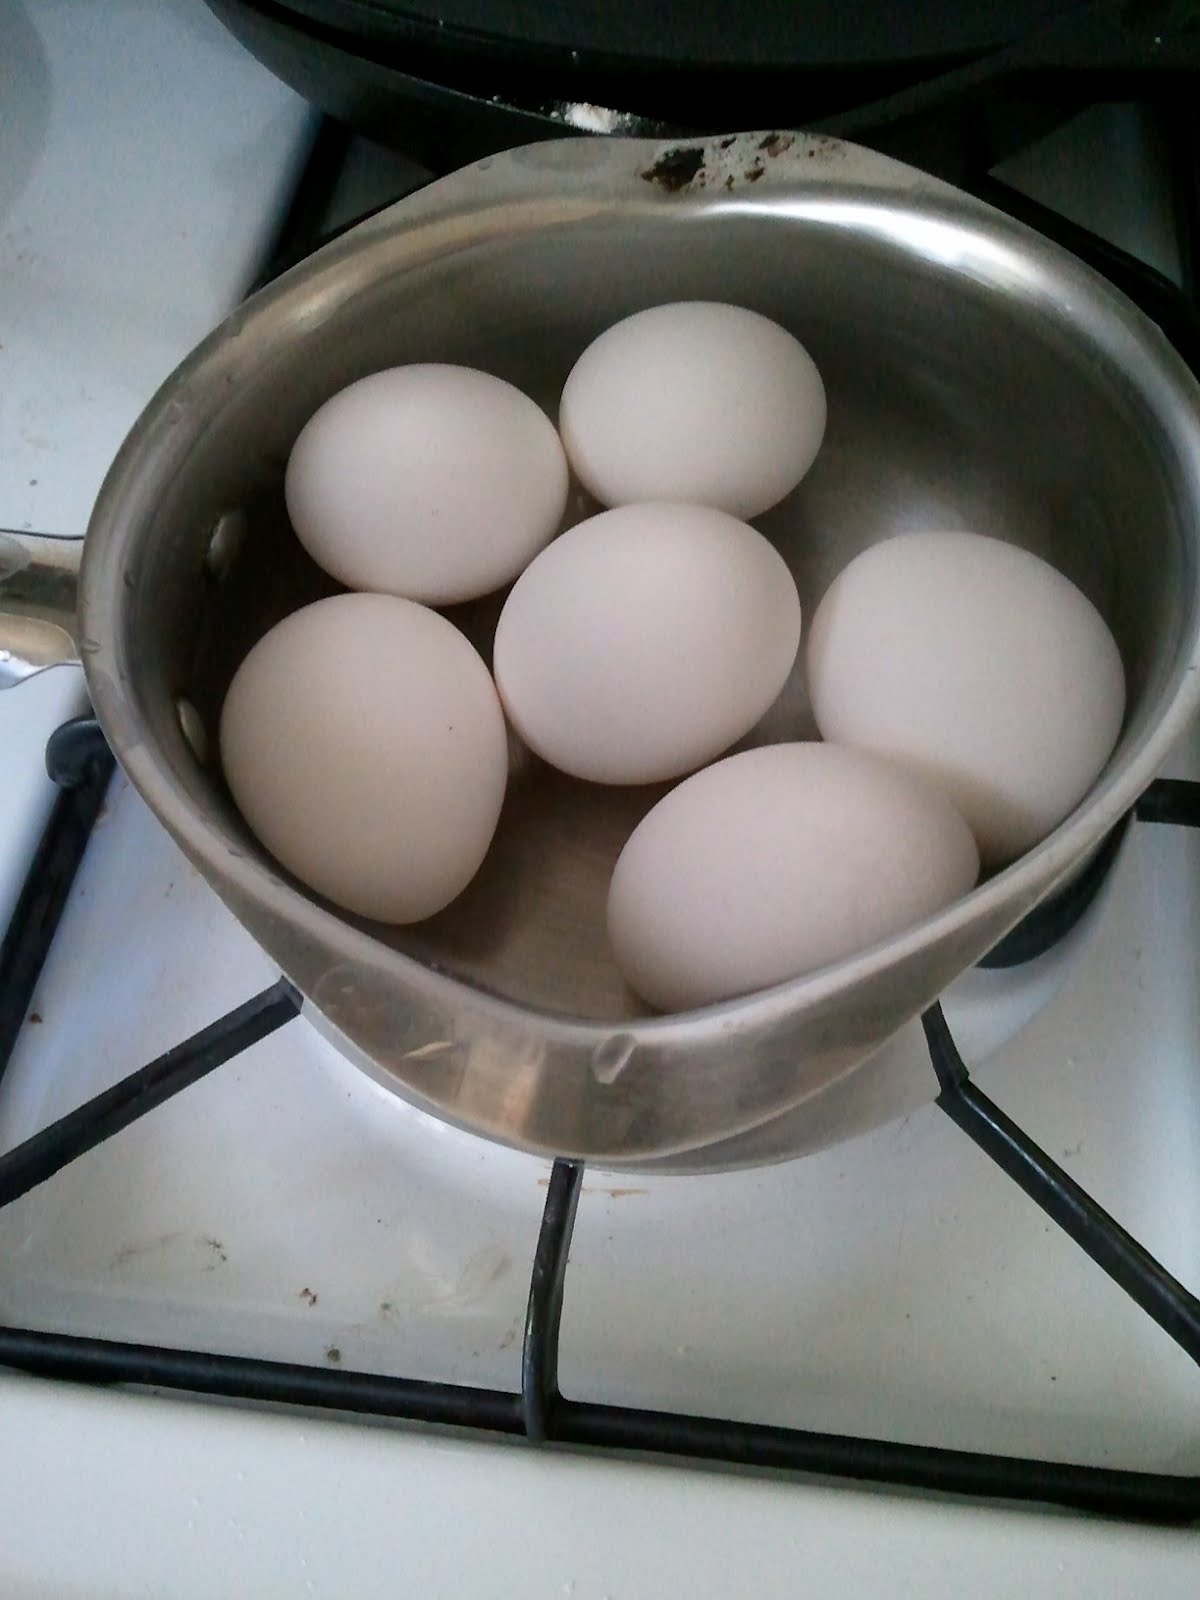
...but if you want to know how Mama does it (which is really about the same), just cover the eggs with cold water and turn your heat to medium.  Bring the pot to a boil, boil one minute, then turn it off and let it sit until the water is about lukewarm.  Drain the hot water and cover eggs with cold water, either by running under the cold tap or submerging in ice water.  Let sit for a few minutes before peeling.


Meanwhile, the potatoes have come to a boil.  Boil for 10 to 20 minutes (I know, big range), or until tender but not disintegrating.


Mama uses the fork test:  you should be able to stab the potatoes and hold it on the fork, and if it falls in half easily after being stabbed they're definitely ready.  Drain the potatoes and set aside.


Meanwhile, combine chopped eggs, chopped dill pickles, and chopped onion in a large mixing bowl.


Add dressing ingredients:  real mayonnaise, (Mama only uses Hellman's, or Best Foods if you're in the West)  mustard, salt, pepper and (the secret ingredient) dill pickle juice to desired consistency.


Stir it all together and chill well before serving.

Mama's Potato Salad

12 small/medium potatoes, peeled, washed and chopped into bite-sized pieces
12 eggs
6 dill pickles, finely chopped
2 T finely chopped (or minced) onion
1 cup real mayo
2 T mustard
1/2 tsp salt
1/4 tsp pepper
1/4 cup (or more, if desired) dill pickle juice

Boil potatoes until fork tender.  Drain and cool.  Boil eggs; cool, peel and chop.  Combine all ingredients in large bowl and mix well.  Add additional dressing ingredients if desired.  Serves a crowd (15 to 20).

Saturday, June 22, 2013

Mama's Chocolate Chip Cookies


I really wanted to post these in time for Father's Day because I knew my Daddy would be having them that night.  But when I opened up the draft for the post, guess what picture I had greeting me at the top?


I'm feeling a little Christmasy--aren't you??  

So I had to make some to photograph again.  Darn!

Here's the thing about these cookies.  They are perfect.  I use different chocolate chip cookie recipes for different things.  Ultimate Chocolate Chip Cookies for taking on picnics and packing in lunches and keeping stocked in the freezer for Dr. S to munch on while he works on his dissertation.  Party Chocolate Chip Cookies for when I need to feed a crowd--they're for parties.  Obviously.

But these.  These are the cookies you write Mama about because you haven't had them in so long it makes your tummy hurt out of pure homesickness, and you know the only thing to make it better is a fresh-from-the-oven, fudgey, gooey, crispy, perfect cookie.  

The chocolate chip cookie has a long history in our family.  Mama made them almost every Sunday for as long as I can remember, with very few exceptions.  Our tradition was to play board games and eat cookies together--and that was as complicated as it got.  I really looked forward to it every week, even as a teenager.  My kids are little still, but I really hope to get this tradition rolling in our house as soon as we have more than one kiddo big enough to actually follow the directions for Chutes & Ladders.

Enough from me.  Let's get baking.  A few ground rules, from the heart of Mama's well-loved wooden recipe box.  You must use real butter.  Our dirty little secret?  Use salted.  Softened butter gives a little when pressed, but doesn't squish and melt in your hand (think about an hour out of the fridge).  And by golly, when I say "cream butter and sugar" I mean cream it--just keep on mixing until it's pale and light and...creamy.


Add eggs and vanilla and mix to combine.  Don't over do it.


Add the dry ingredients.  Under-shooting on the flour a little is definitely recommended.  Mama makes it fool-proof by sifting.  You can do that, too.


Beautiful.  Stick in your finger and take a bite.  I won't tell.  Then stir in some chocolate chips and do it again.  In high school, my best friend and I used to make a whole batch of cookie dough every Friday night just to eat it raw.  True story.  

For my favorite neighbor I ever had, I started mixing in half semisweet and half bittersweet chocolate chips, and now I'll never go back.  Definitely go for the high quality chocolate.  You won't regret it.

Chill the dough if you want.  It makes for a delightfully caramelized crispy surface.


In this photo I dropped by heaping tablespoonfuls, but here's another wonderful tip to make them even more naughty (if that's possible, which it is)--drop by heaping quarter cupfuls.


Press them down slightly.


Here's another trick!  Drop all of your dough balls onto a tray lined with wax paper and freeze!  Then thaw for about 15 minutes (while the oven preheats) to have fresh baked cookies whenever you want them.  That favorite neighbor of mine was the beneficiary of some in this form after she had a baby.  New mamas need warm, gooey chocolate.


Otherwise, bake them until the edges are golden and the center is still a little gooey.  Trust me.  Eat them warm.  Cool the rest on cooling racks.

Make them for Christmas to give to your friends, on Sunday night to accompany games with your family, or today just because you want to.  And, as it states in the children's book given to my boys from my Daddy, (yes, these cookies are now multi-generational) "the best cookie is the one you share with a friend."  So spread the love.  

Mama's Chocolate Chip Cookies

1 lb salted butter, softened
1 1/2 cups sugar
2 cups brown sugar
3 eggs
2 tsp vanilla
6 cups flour
1 tsp salt
1 1/2 tsp baking soda
4 cups chocolate chips 

Cream butter and sugar.  Mix in eggs and vanilla.  Add dry ingredients and stir until just combined.  Stir in chocolate chips.  Refrigerate or freeze dough if desired.  Drop onto ungreased baking sheet and press down slightly.  Bake at 350 for 6 to 9 minutes (heaping tablespoonfuls) or 8 to 12 minutes (heaping 1/4 cupfuls), or until edges are beginning to brown and centers are still slightly soft.  Cool on wire racks.

Tuesday, June 18, 2013

Rice Pudding


This dish does not have a long history for me.  In fact, when my husband first explained it to me, I probably responded with something like, "you do what with rice?" or "sounds interesting, honey..."

At the time we lived nearby one of Dr. S's brothers.  They only had four kids back then, (ha!) but by the time you have that many, the art of feeding children has become pretty refined!  So one morning while we were there for breakfast, brother made it for the kids.  I watched curiously as he boiled rice, added milk, sugar, vanilla, and even eggs.  "That's so strange, but so simple," I said, having never experienced rice pudding before.  "Must be why the kids love it!" was their dad's response.

And sure enough, the kiddos gobbled it up and danced away with full bellies.

At the time we had one little man, and I wasn't the best at preparing family breakfasts.  Dr. S left for work or school really early back then, so I always fed him, then the baby when he got up, and I ate somewhere in there.  It had been a goal of mine to start family breakfasts, though, and I figured learning to cook some of the traditional things Dr. S enjoyed as a kid might encourage both of us.  

For the rice pudding, the best way to try it is to just use up some leftover rice.  That way you're not necessarily committed from the beginning and disappointed if it doesn't work out--but when it does taste amazing, you'll be inspired to make extra rice on purpose next time!  

So cook up some rice for dinner.  Save the leftovers.  It's best if it's plain.  We eat ours for breakfast, so we always save it overnight in the fridge.  But you can have this for dessert, too!  Chop up the rice if it's a little sticky and clumped together.  Just use a large spoon.


I use milk powder to cook with, so I mix it in before adding liquid.


If you do it this way, stir it up do distribute the powder.


Then add water.  Or, if you're using milk--add that!


Combine eggs, sugar and vanilla in measuring cup and mix well.  


After about 5 or 10 minutes, the rice should have absorbed a lot of the milk and looks creamy.


Temper the egg mixture by adding about 1/2 cup of the hot rice into the eggs.  Stir to combine.


Pour the mixture back into the pot with the hot rice...


 and cook for 2-3 minutes more, or until thickened but not boiling.


This is where I like to put aside a little serving for me, because I like my rice pudding plain, creamy and vanilla flavored.


But lots of folks enjoy dried fruits and some spices, so toss those in if you want.  


The dried fruits will plump up much more nicely if you put them in at the beginning, though.  So don't be like me and save them for the end!


Rice Pudding

3 cups cooked rice (1 1/2 cups uncooked)
4 cups milk
1/2 cup sugar
2 eggs
1 tsp vanilla
pinch salt

optional:
1/2 tsp cinnamon and/or
1/4 tsp nutmeg and/or
1/2 cup raisins or other dried fruit

Add rice and  milk together in large pot over medium heat.  Add dried fruit, if desired.  Mix together eggs, vanilla, sugar, salt and optional spices in glass measuring cup.  When most of the milk is absorbed, temper the eggs by adding 1/2 cup hot rice to egg mixture.  Pour tempered eggs into pot with hot rice and cook 2-3 minutes more, or until thickened.  Serve hot or cold.

Monday, June 10, 2013

Pot Roast


This recipe is for the men in my life.  Both my honey and my daddy love a good pot roast.  (let me emphasize the good in that sentence)  It's simple, hearty, flavorful, and when it's done right, it just melts in your mouth.  I call it delightful, but that's not very manly, is it?

It's taken some practice for me to learn how to do a pot roast right.  I hope it wasn't Father's Day, but it might have been, on my first attempt to master this lovely.  I'd seen my mama put roasts in the oven and leave it in there all day while we were at church.  So one Sunday morning I got up, got dressed, and decided I'd be the main contributor to Sunday dinner.  

I was about 15 at the time, and had a basic knowledge of cooking.  I could make a pretty mean chocolate chip cookie. :)  I knew that with most things in the kitchen, "watch and learn" was a pretty good approach.  However, you do sometimes miss a few details...

So I got out a juicy hunk of meat, placed it gingerly in a casserole dish, sprinkled it with salt and pepper, put the lid on the dish, and stuck it in the oven at about 350 or so, then we all went to church.  I was so proud of myself!  

We returned home to that mouth-watering aroma of beef baking.  My dad gave me a curious look with those "hey, this might not have been such a bad experiment after all" eyebrows.  It smelled right!

Imagine my HORROR when I victoriously marched my masterpiece to the dinner table, placing it at the center and removing the lid, only to discover an extremely blackened hunk of meat on its way to perfect jerky.  It became known as THE BLACK BEEF, and I never, ever lived it down.  Maybe I need to try again for our next family reunion.  I promise I know better now!

To start, sprinkle both sides of the pot roast with a generous helping of salt and pepper.  Rub it in a little.  Love the meat, man.


Prepare some veggies (carrots and onions here, you can add celery, potatoes, parsnips, squash--whatever tickles your fancy) by chopping into large-ish chunks (this is man food!) and sauteing for a couple minutes in a little butter or oil.


Just get a little color on them.  You don't need to cook them to death.


Remove the veggies from your pan and place in the bottom of a large casserole dish or dutch oven (greased, please!).  Melt some butter in the hot skillet, then sear the meat on both sides.

To sear:  the skillet must be HOT.  The meat definitely not frozen, and preferably a little warmer than right-out-of-the-fridge.  Place the meat in the hot skillet and walk away for about 3-5 minutes.  Check for that nice dark brown color starting to show up, and the lighter brown creeping up the sides of the meat.  Add butter to the skillet and flip 'er over.


Remove the meat from the skillet and place on top of the veggies in the casserole dish.  Pour some beef broth into the skillet and use a whisk (or whatever) to scrape off all that flavorful goodness from the bottom.


Now pour that whole delicious mess on top of the meat and veggies.


Now, did you catch my mistake earlier?  DON'T set your oven at 350.  Shoot for at least 100 degrees under that.  Okay?  For a three pound roast, check it after about three hours.  Add an hour for a four to five pound roast.


To check for doneness, you can use a meat thermometer, but it should pull apart easily with a couple of forks, so don't bother with those fancy do-dads.

Pot Roast
slightly adapted from the Pioneer Woman

1 large onion
1 cup chopped carrots
(up to 2 cups additional veggies, optional)
3 lb beef roast
salt and pepper, to taste (approximately 1 tsp salt and 1/2 tsp pepper)
butter and oil, up to 1/4 cup
2 cups beef broth

Season roast with salt and pepper generously on both sides.  Melt 1 T each butter and oil in large skillet.  Chop vegetables into large pieces.  Add veggies to skillet and cook for a few minutes, until they begin to caramelize.  Remove veggies from skillet and place in the bottom of a large (greased) casserole dish or dutch oven.  Add 2 T butter to skillet and sear first side of meat.  Add another T butter and sear second side.  Remove meat from skillet and place on top of vegetables in casserole dish.  Add broth to skillet and simmer for a few minutes, stirring bottom of skillet to remove flavorful "dregs."  Add broth to casserole dish and cover with lid.  Bake in 250 degree oven and bake 3 hours, or until meat is tender and pulls apart easily.