Tuesday, November 27, 2012

Grandma's Butter Rolls


There is a pre-requisite to every celebratory meal in our home:  Grandma's Butter Rolls.  In my home growing up, we usually used a particular take & bake variety of roll because my Grandpa loved them so much so my mom always made sure they were at our holiday meals!  But in my husband's family, Grandma was famous for her rolls, so they were always present for special occasions.  These rolls were something you just didn't do without.

The first time I sampled them was at a holiday dinner shortly before marrying into my husband's family.  The rolls were there in abundance, and I was shocked at how many were consumed--especially by the grown men.  My soon-to-be hubby was no exception to this rule!  So I knew when our first Valentine's Day came along a couple months after we were married, the rolls had to make an appearance.  

One of the wonderful things about Grandma's recipes is that most of them are very simple and straight-forward.  I've only been in the family for six years, so my experience with this recipe is so limited in comparison to the many, many other members of Grandma's posterity.  After she passed away, part of the memories included how this recipe has been passed around, taught to many, and used as a way for Grandma to share her love with literally hundreds (probably thousands) of people all over the world!  Some very sweet ladies prepared them for the dinner following her funeral services, just another small way to show how much love can be had just by sharing a recipe.

So without more from me, (because I'm just one recipient of a wonderful gift) Grandma's Butter Rolls...

Combine warm water and yeast in large mixing bowl and let sponge.  This should take about 10 minutes for some good, frothy bubbles.  You can dissolve the sugar in the water at this stage to help the yeast along if you want.


Add in remaining wet ingredients, making sure your butter is melted but cooled to about 100 degrees and your eggs thoroughly beaten before adding to the mixture.


Add in the flour and mix, mix, (knead) mix!  You can do it by hand, but a stand mixer with dough hook attached is lots easier!


You may need to add a small amount of flour, but don't overdo it.  The dough will pull away from the sides of the bowl but still be pretty sticky to the touch and on the bottom of the bowl.


Remember to spray the edges of your bowl and smooth out your dough before placing it back into the bowl, misting with some cooking spray, and covering with plastic wrap to let rise.  

I always do this the night before I want to make them because rise time is invaluable with this recipe!  At room temperature, it's about 8 hours total!!  Don't skimp on the rise time.  It's what makes these so light, feathery and perfectly fluffy.


For the first rise, (at room temperature) let rise 3-4 hours or until doubled.  Watch it towards the end so it doesn't deflate.


If it's been in the fridge, take the dough out at least 2-3 hours before rolling out.  You'll probably still want 4-5 hours though, depending on how cold your weather (and your home) is that day.

When your'e ready to roll out the dough, get your station all set up with greased baking trays, a rolling pin, pizza cutter, flour, softened butter and a rubber spatula.


Sprinkle your work surface with a good amount (about 1/4 cup) flour.  I usually dump the whole bowl full of dough out onto the table and turn it once to lightly coat it with flour.  Then I divide the dough into balls.  

For a single recipe, divide the dough into 2 balls.  Since you're probably making more than that though, divide it proportionally--2 balls for every single recipe (so if it's doubled, four balls).  If you're serving more than 4-6 people, a single batch of dough is not enough.  You've been warned.

Just FYI, my 7 quart mixer bowl can mix and knead a triple batch of dough, but needs to be divided in half to allow for enough room to rise.

Set aside your extra dough balls and put one in the center of your floured work surface.


Now don't ask me why I didn't think of this myself, but don't be like me and try to do crazy geometry to get perfect triangles for rolling into crescent rolls.  My first few times, I rolled out a rectangle and divided it.  No joke.  And then I saw my mother-in-law do it, and it was an epiphany for me to roll it out into a circle and cut pie pieces.  Duh!  

So roll it into a circle.  Think pizza.  Use the pizza cutter to remind yourself.  


Spread with a generous coating of butter.  


Whip out the pizza cutter and slice into 16 semi-equal-sized pieces.


Roll from the large end to create crescent roll shape.


Place the tip underneath the roll on your baking sheet, lest they unroll during rising.  You can curve the ends in a little to really make that crescent shape, but I always make them too squatty to do that.  Operator error.


Mist tops with spray oil, (or butter generously using pastry brush) cover and let rise for 3-5 hours.  Watch carefully so they get nice and big but don't let them deflate!!

By the way, you can do everything up to this point and refrigerate the raw rolls.  Just pull them out of the fridge in the morning 4-5 hours before baking time.  I've done it before, and it works great!  It saves SO MUCH time on the big feast day if you're busy with other things.  But finding room in the fridge is a little tricky.


Let them get nice and plump while rising.  Loosen up the plastic wrap a few times if you need to.


When you're ready to bake, preheat oven to 400 degrees.  Check them after 6 minutes, bake for up to 10.  The rolls will be very pale, with only the tips and edges getting very lightly golden.  Serve fresh and hot!!

Grandma's Butter Rolls

1 cup warm water
1 T yeast
1/2 cup sugar
1/2 cup butter, melted
3 eggs, beaten
3/4 tsp salt
4 cups flour

Combine warm water, sugar and yeast in large mixing bowl.  Let sponge for 10-15 minutes.  Melt butter and let cool to 100 degrees (lukewarm, like a baby bottle).  Beat eggs.  When butter is cool enough and sponge nice and frothy, add all but flour to yeast mixture.  Stir in flour and mix well, adding in flour 1/2 cup at a time as needed.  Dough will still be sticky--it should pull away from the edges of the bowl, but still stick to the bottom.  Knead for 8-12 minutes.  Spray sides and bottom of large bowl, add dough, cover and let rise for 3-5 hours.  Optionally, refrigerate at this point.  If refrigerated, remove 3-5 hours before rolling.  When ready to roll, lightly coat work surface with flour.  Divide dough into 2 balls.  Roll ball into large circle.  Spread dough with generous amount of butter.  Slice dough into 16 even pie pieces.  Roll from large end to create crescent roll shape and place on greased baking sheet, tip side down.  Grease tops of rolls with spray oil or butter, cover and let rise 3-5 hours.  Optionally, refrigerate before rising.  While rising, watch carefully so rolls do not deflate.  Preheat oven to 400 degrees.  Bake 6-10 minutes, watching for very light toasting on tips and edges.  Serve hot, and share the love!

Creamy Fruit Salad


This recipe is so simple, you could have thought of it yourself.  But since I couldn't think of it myself, I thought I'd share, just in case!  

Just combine your favorite fruits with your favorite creamy things and put it in a bowl.  Seriously.  I first remember trying it at a Thanksgiving or Christmas dinner with my in-laws, and I was so blown away by how delightful it was, that when I asked for the recipe, I had to be a little embarrassed by the answer!  

Another fun tidbit:  when my husband's grandma was living with his parents, Mom started mixing in a little instant pudding with the dressing to add some extra calories and sugar since Grandma was a bit of a picky eater!  Once they started doing it, they enjoyed it enough to keep on adding the instant pudding to the dressing.

So.  There are many variations, and you can keep it simple (fruit and vanilla yogurt) for everyday consumption or spice it up (fruit with cream, pudding, etc) for holiday meals.  Either way, enjoy it!

Creamy Fruit Salad

1 cup fruit per person--a variety, chopped or sliced into bite-sized pieces
2 T creamy dressing for every 1 cup fruit

options for the dressing:
  • vanilla yogurt
  • heavy cream, whipped with a little vanilla and sugar
  • half yogurt, half whipped cream
  • any of the above, with a spoonful or two of instant vanilla pudding powder
  • or try coconut pudding!
  • or lemon.
  • or coconut pudding with shredded coconut mixed in
  • Mom's favorite combination is pina colada yogurt with real cream, a little pudding and shredded coconut
  • or make up your own!
If mixing up a dressing, use the bottom of your serving bowl to mix it up first.  Then add the chopped fruit and toss gently to coat.  Chill before serving.


Tangerine Creamsicle Salad


You know how at the holidays you have family gatherings and there are some dishes particular people always bring you feel obligated to try, (sweet potatoes with marshmallow topping anyone?  EW.) and others you eagerly look forward to every year?  This is one of those recipes.  One of the good ones.

My aunt used to bring this to our family holiday meals and we always wondered what her secret was!  It's just a gorgeously, creamy orange color and her salad also held a beautiful shape when served.  And that doesn't say anything for the taste, which is delightfully fresh and light, especially in the midst of all that heavy holiday feasting!

The original recipe called for cool whip and canned mandarin oranges, but my honey was raised in CA, his taste for canned citrus is non-existent.  So we use fresh.  I also modified the recipe slightly to use real whipped cream rather than the cool whip, for my own tastes.  Warning note on that:  it doesn't set up as nicely with the real cream, so if you're going for a molded dessert, use the cool whip!

Either way, start by mixing a large box of jello with 1 cup boiling water.


Then add 1 pint orange sherbet.  Mine wasn't homemade, but the homemade version would be really yummy!


While the sherbet melts a little, whip your cream.  Try not to use a broken hand mixer, but even if you do, (like I did) try not to forget to turn it up to the highest setting.  If you do, it will take 30 minutes to whip your cream.  I speak from experience.


The cream is ready when it forms stiff peaks that stand alone.  I mixed in a little vanilla, but no sugar.  


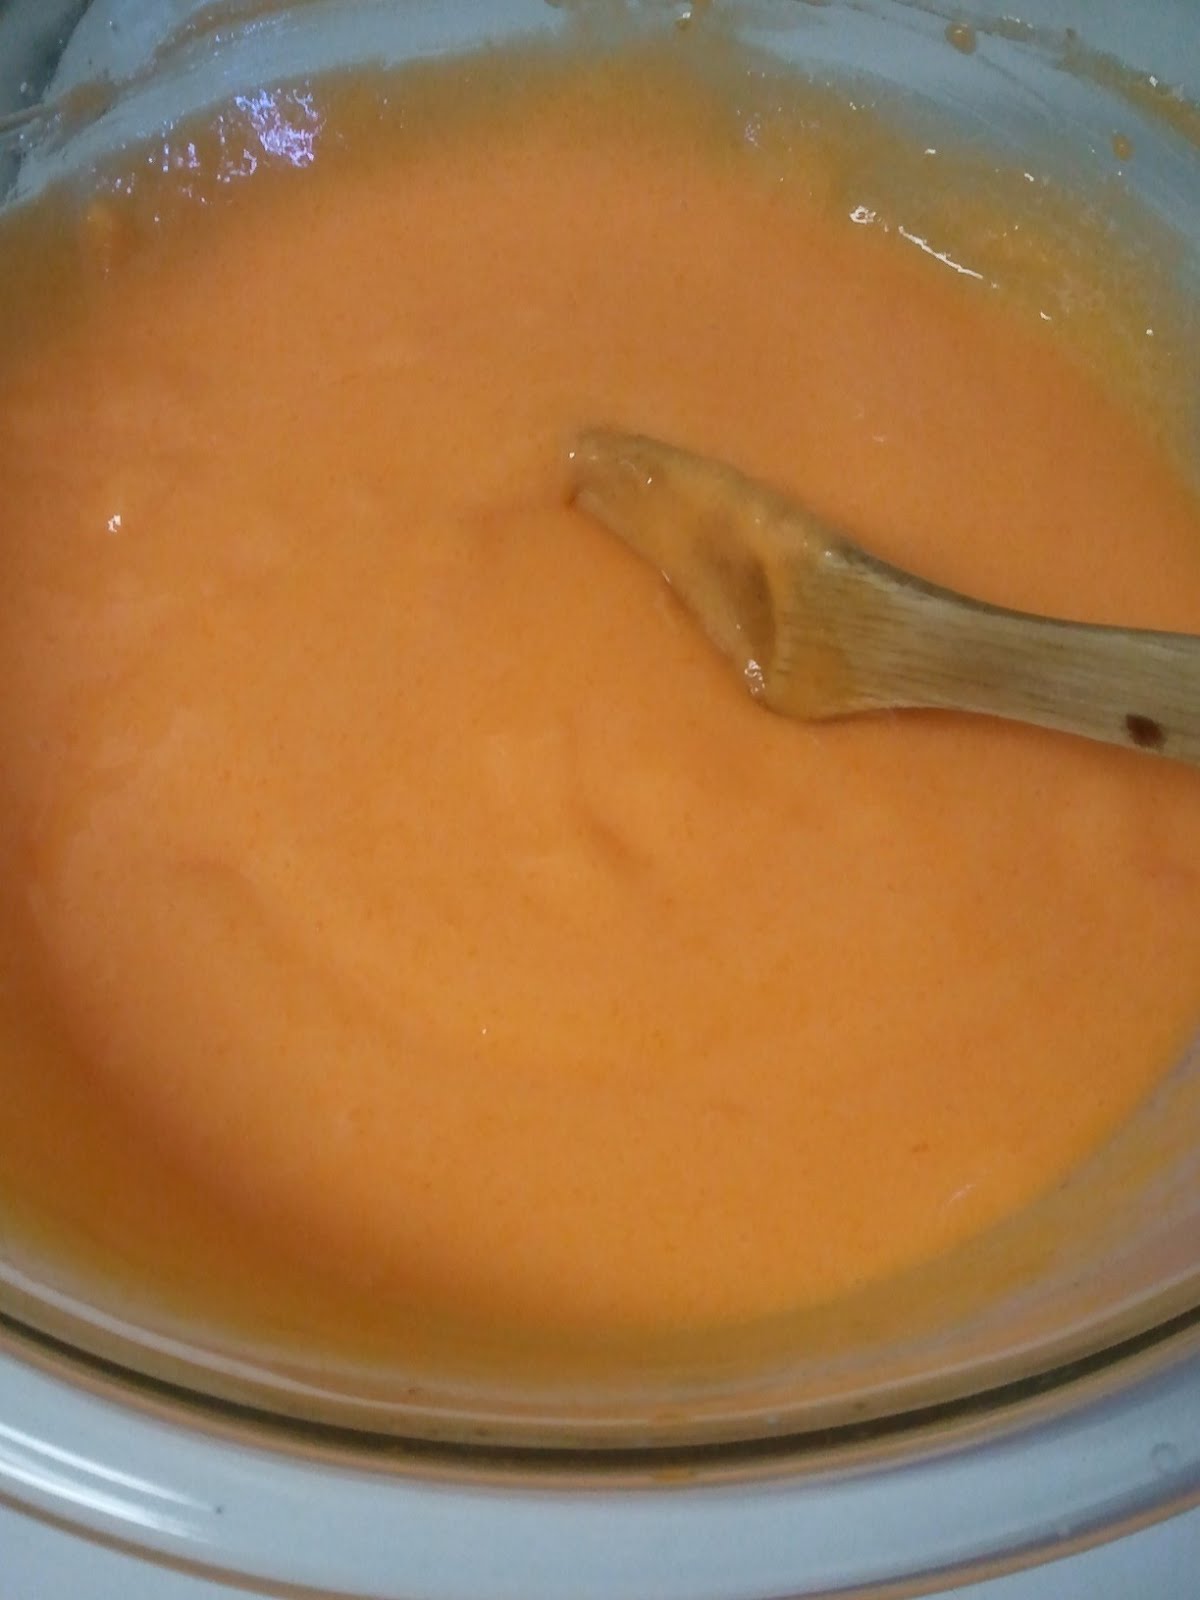
Once the sherbet is melted, it should mix in with the jello and make a nice, smooth (gelatinous) concoction...


I used fresh tangerines, but you can still use canned!  If you do, make sure to drain them.  Two cups or two cans of tangerine slices is about right.  Add those and the whipped cream to the jello/sherbet mixture and fold in gently.


Refrigerate for several hours to let it to set--preferably overnight!


I haven't tried it yet, but this would be delicious in other flavors!  Maybe we'll try something new and share it with you at Christmastime. :)

Tangerine Creamsicle Salad

1 large box orange jello
1 cup boiling water
1 pint orange sherbet
1 pint heavy cream, whipped (or one 8 oz. container cool whip)
1 tsp vanilla
2 cups tangerine slices (fresh [about 8 tangerines] or canned; drain if using canned)

Combine jello and water in large bowl.  Mix in sherbet and allow to melt and blend completely with jello.  Whip cream until stiff peaks form.  Gently fold whipped cream and tangerines into jello mixture.  Refrigerate for several hours to allow to set.  Serve cold.

Sweet Potato Bake


Sweet potatoes.  I think they're one of those foods you love or hate.  However, I also think you can learn to acquire a taste for them.  This is the recipe that taught me to love sweet potatoes.  (I confess it was probably the sugary topping.)  But now I would be happy to eat just a regular old baked sweet potato with a little salt or butter.  

When I was a teenager, some friends and I got together and had a recipe exchange where we all made our favorite dishes and brought the recipes to share.  This recipe came from that exchange, and though I don't make it really often, I always think of it to accompany special meals during the holidays.

You start out by cooking and mashing the sweet potatoes.  I spaced the photos for the first few steps, so you'll have to use your imagination!  

You can use the pale yellow variety or the orange variety sometimes referred to as "yams" in the supermarket.  Both are really about the same!  The easiest way I've found to cook them is in the microwave--ever done a quick baked potato that way?  Then the peel just comes right off with your fingers and you can mash it with a fork.

Then you mix in the rest of the filling ingredients and spread it in a casserole dish.  The recipe I'm posting is for a two quart dish, (8 or 9 inch square pan) but since I'm the only one in the house who enjoys these enough to eat leftovers, the photos are for half the size.


For the topping, mix together dry ingredients first.


Then cut in the butter.


Spread topping over filling.


At this point you can refrigerate for a few hours or overnight if you want to!  You probably want to cover it if you're going overnight.


An hour before serving, bake in 325 degree oven for 45-60 minutes, or until the top is lightly golden brown.

Sweet Potato Bake

3 cups mashed sweet potatoes (about 2-3 large)
1/2 cup sugar
1/2 cup milk
2 T butter, softened
2 eggs
1 tsp salt
1 tsp vanilla

for the topping:
1 cup brown sugar
2 cups flour
1 cup chopped pecans (optional)
6 T cold butter

Wash, cook, peel and mash sweet potatoes (microwave is easiest).  Combine with remaining filling ingredients and mix well.  Transfer to greased 2 quart (8 or 9 inch square pan) baking dish.  Combine dry ingredients for topping in small mixing bowl.  Cut in butter.  Spread topping over filling in baking dish.  Can cover and refrigerate for later use or bake immediately.  Bake at 325 for 45-60 minutes, or until top is lightly golden brown.

Thursday, November 22, 2012

Whole Cranberry Sauce


For some people, cranberry sauce is simply a traditional garnish for Thanksgiving Dinner.  At our house it could be at least a substantial snack--if not a light meal--all by itself.  In other words, it's well-loved by all.  So for the holiday meal, we add it to the feast and everyone takes a spoonful to accompany meat or rolls.  But then the leftovers get to be the main feature for breakfast soon thereafter.  It's a recipe I planned to link you to, but I haven't posted it yet!  So you'll have to be in suspense until I do.

Cranberry sauce is so easy to make, and it's worth it to not come out of a can.  The homemade, whole berry version does hold a form if allowed to set properly, even with whole berry chunks.  I know some people enjoy that super-smooth jelly version, too, so I'll do my best to explain how to do it just in case!

Start by boiling equal parts water and sugar.


Then add in whole cranberries.


Bring it to a boil.  The cranberries will start to burst.  It's fun!  Stay close and listen!  Also, stay close so it doesn't boil over.


Boil, boil, boil until it's nice and thick and red.  It'll get a little frothy--that's okay.  You can monitor the bubbles until they turn pink!


Let it cook down for awhile.  Think caramel sauce or a melted jam thick.  Or partially set jello.


You can leave them completely whole.  If you do, your sauce will look like this (more or less).


We like occasional whole pieces but with little people in the house, the big bites of cranberry are a little sour.  So I used a stick blender to mix it up a little.


This is the result.


If you want it to be cranberry jelly, don't blend it.  Pour it through a mesh sieve into your container and mash the cranberries with the back of a spoon to extract the juice.

No matter what you decide, pour it into a container or mold and let cool at room temperature before refrigerating--at least overnight if turning out onto a platter.


Whole Cranberry Sauce

1 cup water
1 cup sugar
3 cups whole cranberries

Bring sugar and water to a boil.  Add cranberries.  Return to boil and let cook until cranberries have burst and sauce thickens.  For whole cranberry sauce, simply transfer to container.  For jelly, pour through mesh sieve into container and press berries with back of spoon to extract juice.  For something in between, puree with an immersion blender before transferring to container.  Let cool at room temperature before refrigerating.

Tuesday, November 20, 2012

Mashed Potatoes and Gravy


This side is about as classic as it gets for almost any meal.  In fact, I'm pretty sure when my brothers were teenagers they could have made an entire meal out of just mashed taters and gravy.  Personally, I have a different favorite side when it comes to holiday meals, but that doesn't mean it's not important to prepare them just right!

For the potatoes, start by peeling and washing.  You can dice them if you want, but it's not really necessary as long as you have enough time to boil them.  Cover with water and bring to a boil.


Cook until potato begins to fall apart when prodded with a fork.  For cubed potatoes, this usually takes 20-30 minutes; for whole potatoes it could take up to an hour.  Drain the water.


Add flavorings.  In this case:  cream cheese and salt...


and a little milk to thin it down.  Trust me when I say a little.  You can always add more later.


You can use a potato masher if you want, but I go for the whipped potato texture and mix it with a hand mixer.  You could also put the whole thing in a stand mixer if you're cooking for a crowd.


When the potatoes are mashed, you can transfer them to a casserole dish to let cool, cover them and refrigerate until the next day.  Reheat in the oven for about 30 minutes.  OR transfer to a serving dish.  Either way, a good dollop of butter is usually more desirable than not.

For the gravy, start with drippings or broth.  In this case we're using turkey drippings.  For every 1 cup of broth/drippings, use 2 T flour or 1 T cornstarch to thicken.  


Bring it to a simmer over low heat, whisking constantly, until desired thickness is reached.


Mashed Potatoes and Gravy

potatoes (about 1 medium/large per person is a good rule)
cream cheese (1 oz per potato)
salt (1/4 tsp for every 2 potatoes)
milk (start with 1 T for every potato and go up from there, a little at a time)
butter

meat drippings/broth (about 1/2 cup per person)
flour (2 T for every 1 cup broth)

Peel and wash potatoes.  Cover with water and bring to boil.  Cook until potato begins to fall apart when prodded with a fork.  Drain water.  Add cream cheese, salt and milk; mash with potato masher or electric mixer for whipped potatoes.  Stir in butter.  Transfer to serving dish.  If preparing in advance, transfer to casserole dish and allow to cool.  Cover and refrigerate overnight.  Reheat in 350 degree oven for 30 minutes, uncovered if browning is desired.  

For the gravy, place drippings/broth in saucepan and add flour, whisking constantly.  Continue to whisk and bring to boil.  Boil until desired thickness is reached (you'll want it to seem a little thin; gravy will thicken as it cools), then remove from heat and transfer to gravy boat.  

Roasted Turkey


There's not too much to say here, right?  Except that my hubby isn't a huge fan of turkey for Thanksgiving Dinner.  Or Christmas.  We just cook it for the leftovers.

Actually, my honey has been our turkey chef for our whole marriage.  He never uses the same recipe twice (for anything), so this is more of a how-to than a recipe.  But I will point out a few in case that's really what you're looking for!

First of all, the turkey.  If you're buying it frozen from the grocery store, it needs to defrost in the fridge for at least 2-3 days before you plan to begin cooking.  The brining process takes a day.  The roasting takes another day.  If you plan to roast on Thanksgiving Day, this means your turkey needs to be defrosting at least 4 days prior to Thanksgiving Day.

We start with a turkey brine.  It's a solution you soak the turkey in for the whole day before you plan to roast  it.  This can be as simple as salt and water, but this year we took the more complicated route and prepared a cooked brine on the stove top.  Alton Brown and Ree Drummond both have great recipes for brines, or you can use them as starting points for your own.

For the cooked brine, start with a large stockpot and combine your ingredients...


add your liquids (water, juice, vinegar)...


and bring it to a boil.


Then turn it off, cover it and let it sit for awhile.


As for the turkey, this guy needs to be gutted (the hard work has been done for you; just take out the packets containing the giblets as well as the turkey neck) and rinsed.  You'll be wanting a clean sink for this, and don't forget to sanitize everything after you're done!


Now put Mr. Tom in the pot with all the goodies and make sure he's fully submerged.  Then refrigerate (or keep on ice) for 12 to 24 hours.


When you're ready to roast, remove turkey from brine and place breast side up in roasting pan.  Make small slits in the skin and place pats of butter in each little pocket.  You can season the butter if you want.


Optionally, stuff the vegetables and other aromatics in the cavity of the turkey.


Roast in the oven, covered, for the first 2 hours. 


Remove cover and baste.


Continue roasting until internal temperature of thigh reads at least 180 degrees Fahrenheit.  Let rest before carving.


Roasted Turkey

one 14 to 18 lb turkey
roasting pan
prepared brine solution
butter

Defrost turkey in refrigerator 2-3 days in advance.  Prepare brine solution.  Rinse turkey and remove innards.  Place turkey in brine and refrigerate or keep on ice for 12 to 24 hours.  Remove turkey from brine and place in roasting pan breast side up.  Cut slits in skin and place pats of butter in pockets.  Stuff with vegetables and aromatics from brine if desired.  Roast covered at 350 for first two hours.  Remove cover and baste using liquid from roasting pan.  Repeat every 30 minutes until internal temperature taken in thigh reads at least 180 degrees Fahrenheit.  Remove from oven and let rest at least 30 minutes before moving to platter or carving.  Reserve juices for gravy.